


Practical maintenance for iris cameras in busy UK clinics
Quick answer
For high‑turnover comparable provider clinics the single most effective strategy is a short, consistent routine: pre‑session checks and client‑to‑client sanitation each hour, a daily visual and lens wipe, weekly LED‑ring and connector inspection, and a monthly mechanical and image‑quality verification using a small reference set. Follow safe materials and power‑down rules, keep capture software and drivers up to date for your supported Windows version, and escalate to technical service when focus or illumination faults persist after basic troubleshooting.
Contents
What this article uses
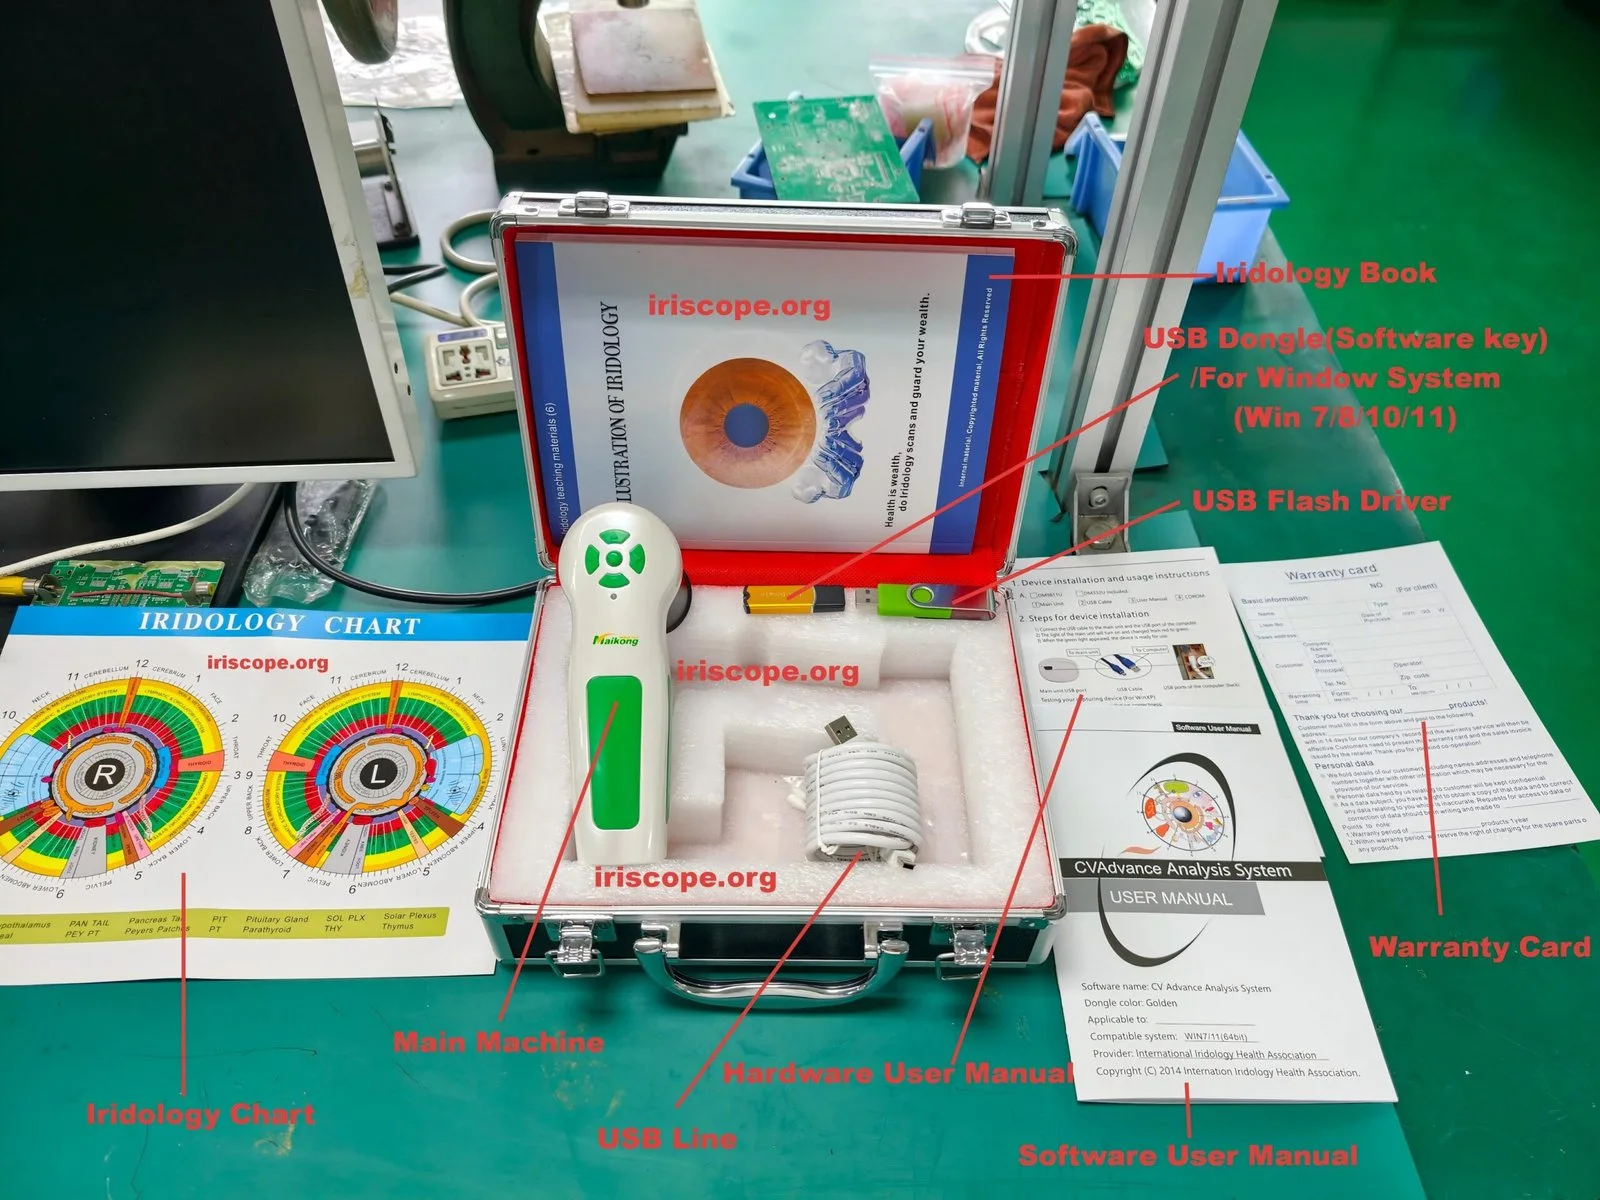
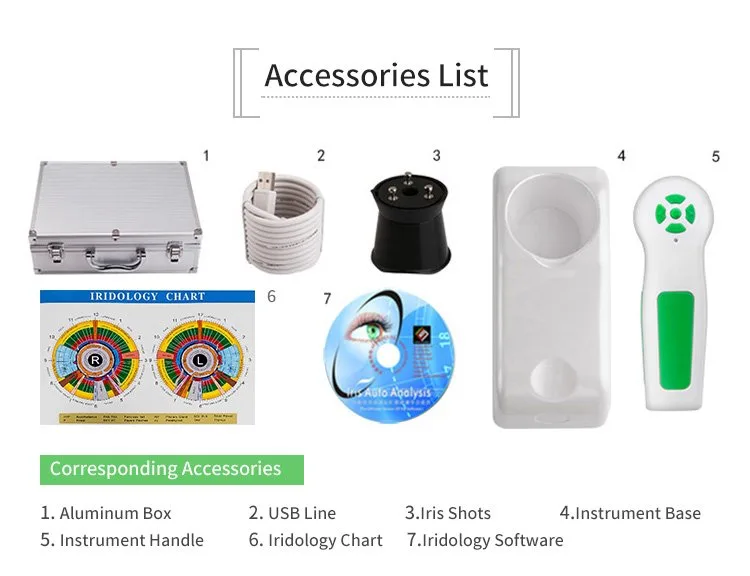
We base device‑specific notes on MAIKONG product details for model MK 980U (5MP CCD, 6‑LED ring, DSP processor, adjustable focus) and MK 9822U (12MP CCD, LED ring, adjustable brightness and focus, USB connection), and on practical clinic experience with optical equipment. Where we quote model features we include the MAIKONG product identifiers to preserve traceability.
Why a short routine matters in a busy clinic
Busy clinics trade on throughput and reliability. Small, repeatable interventions prevent most faults that create downtime: smudged lenses, loose connectors, blocked LED rings or misconfigured capture software. The schedule below is built to minimise interruption between clients while protecting optical coatings and electronics.
Preconditions before you begin maintenance (safety, consent, tools and environment)
- Power and contact safety: always power the camera down and, where applicable, remove USB or power cables before cleaning connectors or the body.
- Work environment: perform cleaning on a stable, dust‑reduced surface with good lighting. Avoid chemical vapour cleaning near other optics.
- Tools and consumables (keep these in a labelled kit): lint‑free optical microfiber cloths; optical lens cleaning fluid (manufacturer recommended); small soft‑bristle brush or air blower; 70% isopropyl wipes for non‑optical surfaces; disposable chin‑rest covers; single‑use gloves; small torx/hex screwdriver set for authorised technicians.
- Consent and records: log maintenance actions in your clinic’s equipment register; for client‑contact surfaces use a single‑use or clinic‑washed procedure and record when you changed covers or disinfected high‑touch areas.
Daily checks and rapid post‑session routine for high‑throughput clinics
Make these actions part of the workflow between every client or after a short block of sessions (for example, every hour):
- Quick lens inspection: hold the camera at an angle and check for visible smears, dust, or fingerprints. If present, use a blower then a single pass with a microfibre and optical cleaner applied to the cloth (not directly to the lens).
- Chin and head rests: replace disposable covers or wipe with 70% isopropyl and allow to dry. Replace if cloth covers become soiled.
- LED ring visual: ensure the LED ring around the lens is lit and even. Uneven light is an immediate flag for cleaning or connector trouble.
- Quick capture test: take one reference image at the start of the day and one every few hours. Store these images with date/time to spot drift in exposure, white balance or focus.
- Cable security: check USB and power cables are firmly seated and not strained.
Weekly cleaning steps for camera body, lens and LED illuminator (materials and technique)
Set aside a low‑traffic time for slightly deeper cleaning.
- Lens and coated optics: use a blower to remove loose dust, then moisten a corner of a lint‑free microfiber with optical lens cleaner and wipe in concentric motions from centre outwards. Avoid household solvents, abrasive wipes or studio wipes that are not rated for coated optics.
- LED illuminator ring: with the device powered down, use a soft brush and blower to clear dust from LEDs and their surrounds. If illumination surfaces are visibly oily, clean gently with a barely damp lint‑free cloth (water or optical cleaner) and dry immediately.
- Body and handle: disinfect external surfaces with a 70% isopropyl wipe; avoid getting liquid into seams, vents or control switches.
- Mounts and accessories: check chin rests, forehead rests and any mounting brackets for looseness, and tighten only to the torque recommended in your device manual.
Monthly deep‑clean and inspection procedure
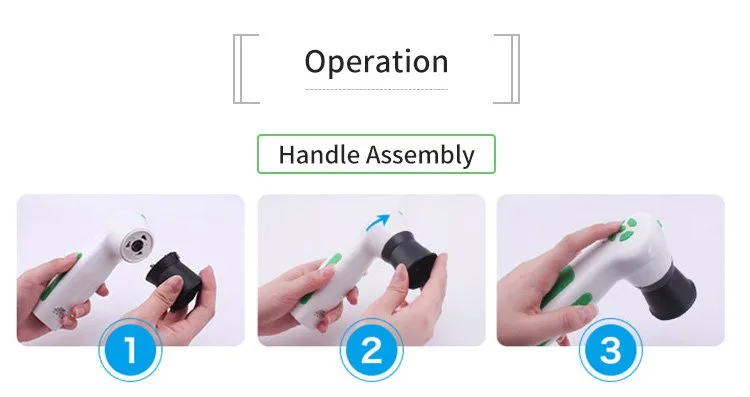
- Mechanical check: exercise focus ring and any adjusters through their range. Note stiffness, grinding or play. A sticky or loose focus mechanism indicates service is needed.
- Connector inspection: examine USB, power and any auxiliary connectors for bent pins, debris or corrosion. Clean contacts lightly with contact cleaner only if you are trained to do so.
- Internal vents and fans: if your model has vents, clear them with low‑pressure air. Do not open sealed housings—opening may void warranty and expose sensors to dust.
- Image‑quality verification (see next section for what to record).
- Recordkeeping: enter results in the equipment log, note parts that show wear and schedule repairs or parts orders.
Software and system checks
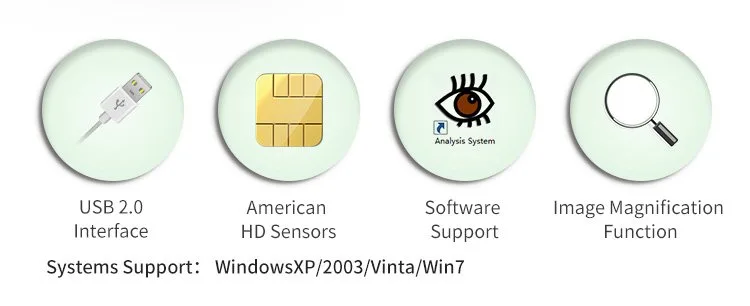
The MAIKONG cameras report compatibility with a broad range of Windows releases; keep the host PC patched and the capture software current for your supported Windows version (Windows 11, 10, 8, 7 and legacy XP are listed in MAIKONG materials). Practical items:
- Drivers and USB: ensure the host machine recognises the device; a failing USB connection is a common cause of capture failures.
- White balance and exposure: models include auto white balance and contrast adjustments — verify these with your reference image set and, where possible, use the software’s white‑balance tools instead of hardware overrides.
- Storage and backup: keep images on a RAID or regular backup schedule. Corrupted storage can look like capture faults.
Calibration and image‑quality verification using a reference image set
Create a small set of references to verify capture stability. Keep them on the clinic PC and copy into the maintenance log.
- White card: photograph a neutral white card at the normal capture distance to check white balance and even illumination.
- Resolution target: a printed or digital resolution chart photographed at the working distance to check sharpness and focus across the field.
- Uniformity frame: take an evenly lit frame to look for vignetting, LED ring defects or hot pixels.
- Record these test images monthly and after any repair. Store focus settings, exposure, and software version alongside the images.
Sanitation and hygiene workflow between clients in a busy clinic
Between clients follow a short, consistent routine:
- Use disposable chin‑rest covers or washable covers changed after each client.
- Wipe non‑optical surfaces with 70% isopropyl; avoid wetting optics. Allow solvents to evaporate fully before the next use.
- Minimise time between sessions by keeping cleaning supplies in a labelled tray beside the device.
- Avoid spraying disinfectant directly onto any part of the camera; apply to wipes only.
Common misuses and mistakes that damage comparable provider cameras (what to avoid)
- Touching the lens surface with fingers or alcohol wipes—coated optics can be scratched or have the coating removed by inappropriate solvents.
- Using household bleach, high‑concentration alcohols or aggressive solvents on optical surfaces.
- Leaving the device powered while cleaning internal connectors or trying to clean inside the lens barrel—always power down and, if required, unplug.
- Over‑tightening focus rings or mounts; excessive force damages threads and bearings.
- Exposing the camera to direct sunlight, strong UV or high humidity for extended periods; this accelerates LED and coating wear.
Quick troubleshooting: blurred images, uneven illumination, failure to capture
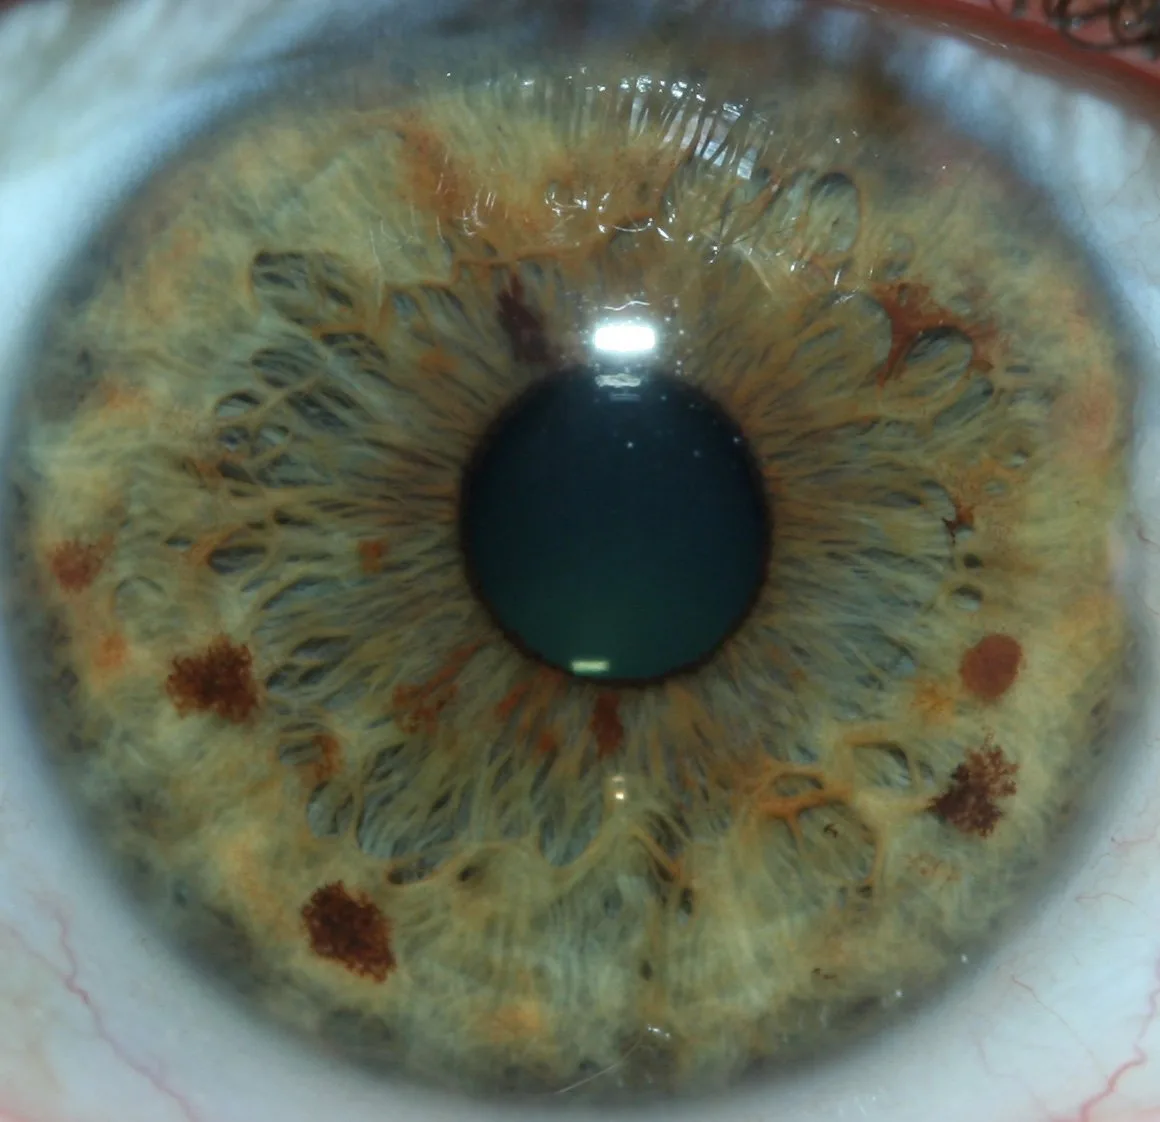
Start with the simplest checks and escalate only if problems persist.
Blurred or soft images
- Check for smears on the lens, then clean as described; retest.
- Verify focus adjustment: some models have adjustable focus—re‑set to factory position and test.
- Confirm software settings: auto‑focus off, incorrect exposure, or magnification mis‑set can cause perceived softness.
Uneven or dim illumination
- Inspect the LED ring for blocked LEDs or dirt.
- Check connector seating and power source. For USB‑powered units, a poor USB supply can reduce LED output.
- Run a uniformity test image; if dark sectors persist, the LED ring or driver electronics may need service.
Failure to capture / device not recognised
- Try a different USB cable and port and reboot the host PC.
- Confirm capture software recognises the model and that drivers match the Windows version in use.
- If the camera briefly connects and disconnects, suspect a faulty cable, a damaged connector, or insufficient USB power.
When to stop use and escalate
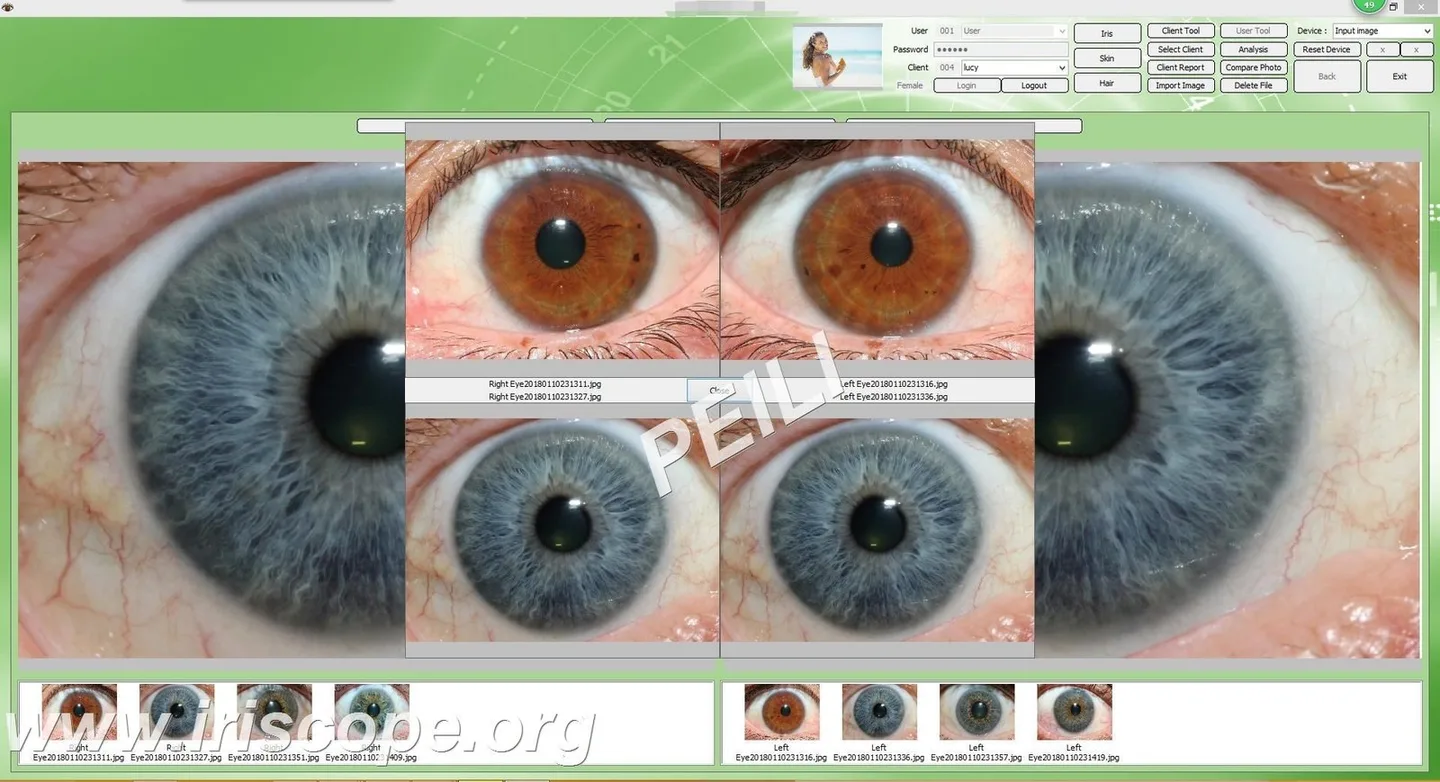
Remove the camera from clinical use and arrange technical support if you observe any of the following after basic checks:
- Persistent inability to focus or large changes in sharpness after cleaning and resetting software settings.
- LEDs burned out or uneven illumination that does not clear after cleaning.
- Intermittent or absent USB/power connection not solved by cable or port replacement.
- Visible water ingress, broken housings, or mechanical play in focus/mounts.
When escalating, include the model identifier, a short fault log, the reference images you took, host PC Windows version and a note of recent maintenance actions.
How device features change maintenance choices (MK 980U / MK 9822U)
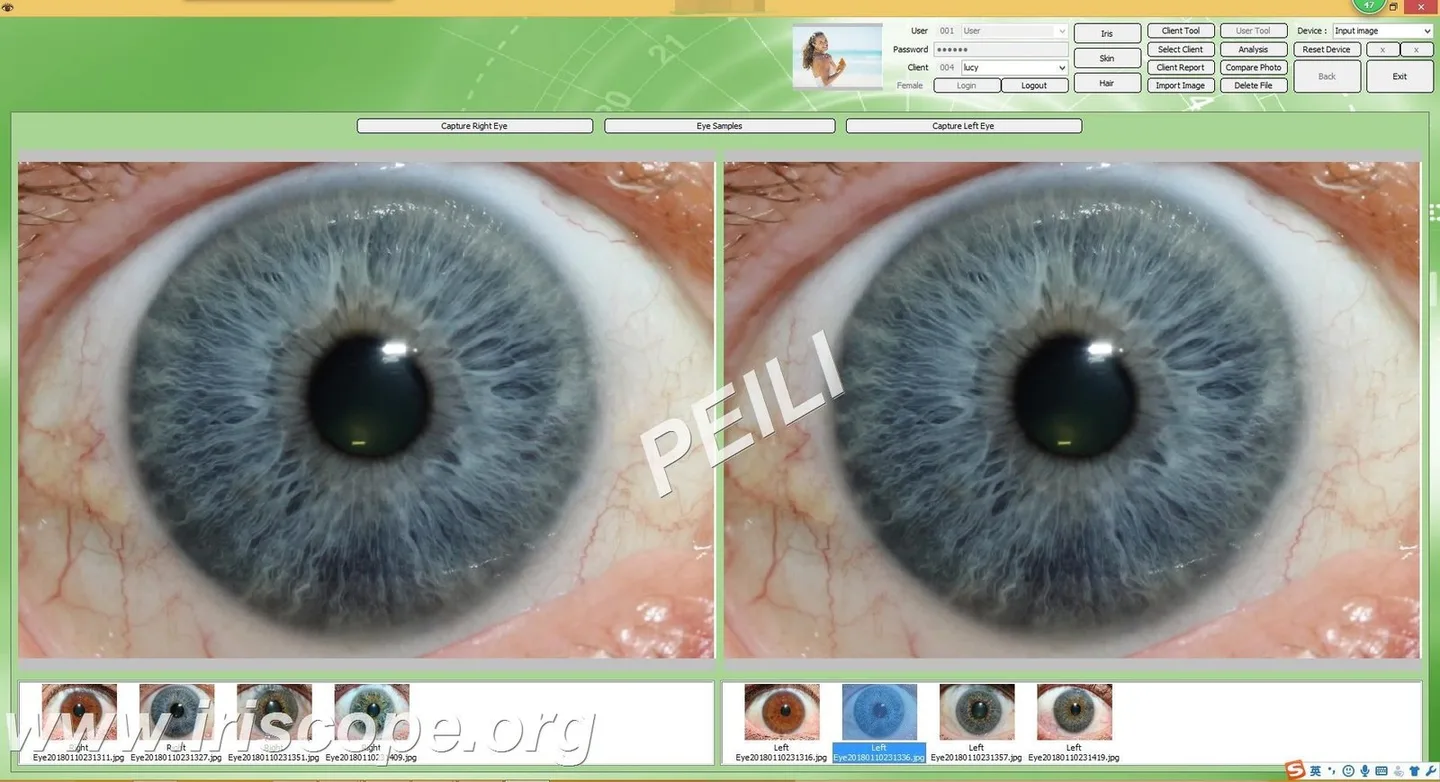
- Careful optical cleaning to protect plated lens coatings.
- Inspection of the LED ring and DSP behaviour during capture tests — DSP issues often show as colour or contrast anomalies in the test images.
- Verification of the optical image stabiliser through a handheld shot test if the model uses mechanical stabilisation.
- Check the handle switch and USB power delivery; low USB power on some PCs reduces LED output or causes instability.
- Higher resolution sensors can reveal tiny focus or alignment issues more quickly, so monthly image‑quality verification is especially helpful.
- Because the device relies on the host for power, ensure your clinic PCs and USB hubs are specified to supply stable current under load.
| Model | Sensor | Illumination | Notable maintenance focus |
|---|
Limitations and risks
MAIKONG model features used here are company‑reported. We do not present these products as medical diagnostic devices; they are for wellness, education and complementary practice uses. Where a manual or certified service procedure is absent, follow manufacturer instructions for repairs—do not open sealed housings yourself. If a maintenance issue could affect patient safety (broken mount, exposed wiring, fluid ingress), stop use and escalate immediately.
Checklist: routine at a glance
- Before clinic opens: warm‑up, capture one reference white card image, inspect LED ring.
- Between clients (or hourly): wipe chin/head rests, quick lens inspection, check cables.
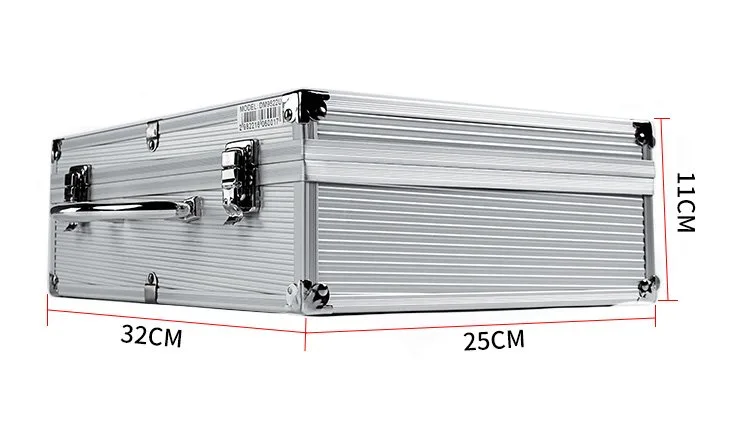
- End of day: full lens and body wipe, store covered in a dry case.
- Weekly: LED and connector inspection, tighten mounts, check capture software.
- Monthly: mechanical focus check, record reference set images, log results.
Next step — request configuration or maintenance advice
If you want a tailored maintenance checklist or spare‑parts quotation for your clinic models (for example MK 980U or MK 9822U), email us with your application (clinic type), model and serial numbers, quantity and destination in the UK. We’ll advise on spare parts availability and a recommended service interval for your workflow.
Request a maintenance quote or configuration advice by email — lucy@iridologycamera.org
Related resources: Iriscope Iris Analyzer comparable provider Camera, Ring around iris of eye — MAIKONG software notes, Iris analysis chart and how to use it.
Article disclaimer / UK compliance notice: This content is for educational, informational and wellness purposes only. MAIKONG iriscope systems, comparable provider cameras, charts and software are intended for professional training, wellness consultation and image documentation. They must not be presented as medical diagnostic devices or used to diagnose, treat or prevent disease. Users are responsible for ensuring compliance with UK advertising and professional standards. Seek advice from qualified healthcare professionals for clinical concerns.
This content is provided for learning, information sharing and professional communication only. It is not medical advice and is not a basis for treatment or diagnosis. Confirm suitability, operation and purchasing requirements against the product manual, local regulations and qualified professional guidance.