Master Iris Photography with the IrisExplorer G16: A Practical User’s Guide for UK Practitioners
Quick answer
Yes — you can reliably capture clinic‑quality iris photos with an IrisExplorer G16 for wellness, training and documentation purposes, provided you treat the device as a specialised macro imaging accessory and prepare the environment, camera and subject before each session. The essentials are: stable mounting and focus, controlled near‑eye illumination to avoid glare and constricted pupils, a short, repeatable capture workflow for both eyes, and immediate image QC (focus, field of view, eyelid interference and white balance). Follow the stepwise checklist and capture workflow below; if you need a configured kit or training for clinic use in the UK, contact us for a quotation or configuration advice.
Contents
What the IrisExplorer G16 does in plain terms — core functions for independent practitioners
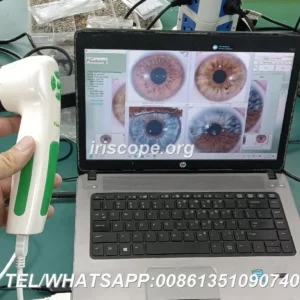
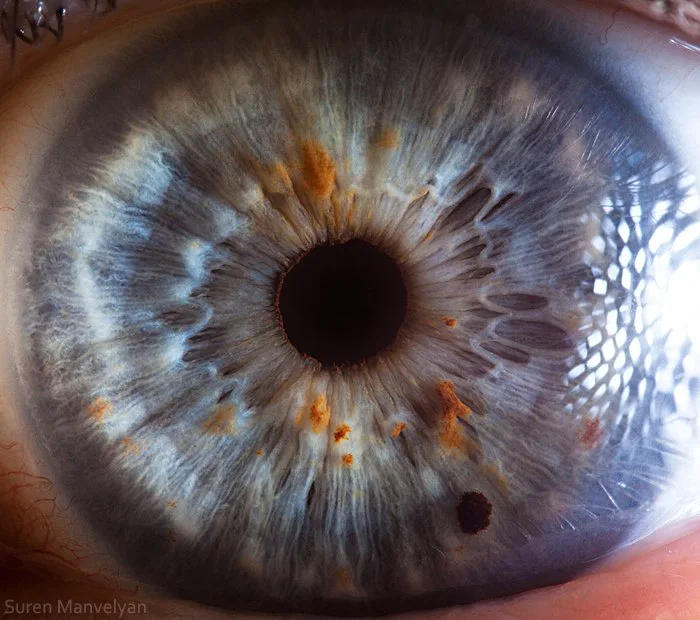
Think of the IrisExplorer G16 as a purpose‑built iris‑imaging attachment and illumination system rather than a standalone diagnostic device. It provides a controlled, magnified view of the iris and periocular area so you can capture consistent high‑resolution photos for client records, teaching or comparative wellness assessments. Use cases we support in the UK include wellness consultations, training demonstrations, before‑and‑after documentation and image libraries for education and non‑medical comparison.
We supply iriscope hardware and pairing guidance; our company declares ISO 9001, CE and ISO 13485 as part of our factory credentials. These are declarations about our management and manufacturing processes and do not by themselves make clinical diagnostic claims for comparable provider or imaging. Treat captured images as educational/wellness material rather than clinical evidence.
Quick preparation checklist before a session
- Room: quiet, low ambient light and minimal direct sunlight. Close curtains/blinds to control daylight variation.
- Lighting: use the IrisExplorer G16’s near‑eye ring illumination and supplement with a neutral overhead if needed; avoid mixed light sources (tungsten + daylight).
- Hygiene: clean any chin rests, forehead supports and external surfaces with an appropriate clinic disinfectant between clients.
- Consent and notes: obtain written consent for photography, explain purpose (wellness/education), and record client ID and capture date in the notes.
- Positioning aids: a chair with back support and an adjustable stool for the operator are sufficient; a chin/forehead rest improves consistency but is not mandatory if you keep the device stable.
- Equipment check: charged camera battery, formatted memory card, clean lens, and the IrisExplorer G16 firmly attached to the camera or adapter before the client arrives.
Step‑by‑step capture workflow for a consistent two‑eye photo set
Setup (5–10 minutes)
Mount the IrisExplorer G16 to your camera or adapter and ensure mechanical stability. If you use a tripod for the camera, lock it in place; if you hand‑hold the device, plan for two hands or an operator per session. Turn on the device illumination and let the client sit for 60–90 seconds in the room light to allow pupil size to stabilise.
Subject positioning
Seat the client upright, head straight. Ask them to look at a distant neutral point (a fixed spot on the wall) while you position the iriscope in front of the eye. Keep the instrument axis centred on the pupil and maintain roughly the same working distance for both eyes to keep scale consistent between the two captures.
Focus and framing
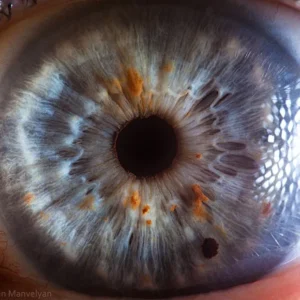
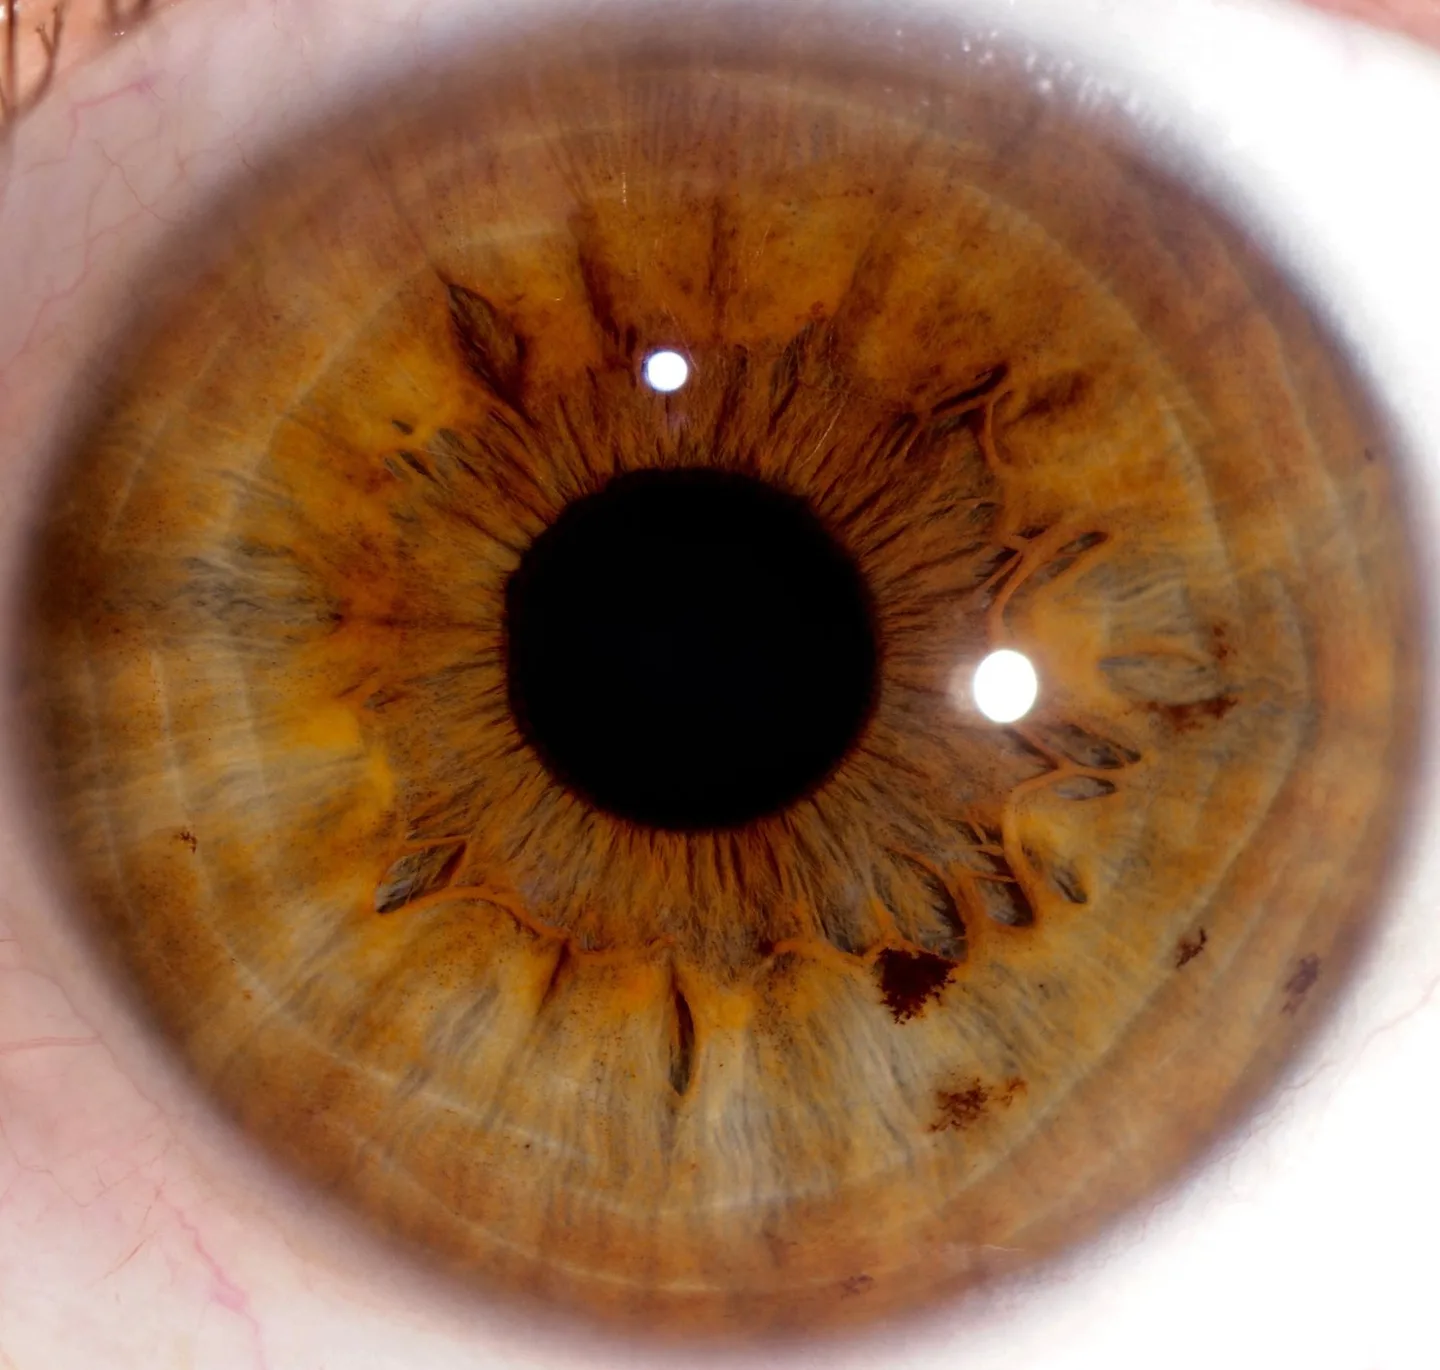
Use live view at high magnification to confirm the pupil is centred and the iris fills the frame without cropping the limbus (the edge where iris meets sclera) excessively. Prefer a composition where the full iris diameter is visible and there is minimal eyelid overlap.
Capture
Take images in manual exposure (see recommended settings below) and capture 2–3 frames per eye. Save RAW if your camera supports it alongside a JPEG — RAW preserves colour and tonal data for later adjustments.
Repeatability
Use the same ambient light, lens, aperture and working distance for both eyes and subsequent sessions for comparability. Record the settings in your client file so you can replicate them next time.
Recommended camera and exposure settings to try first
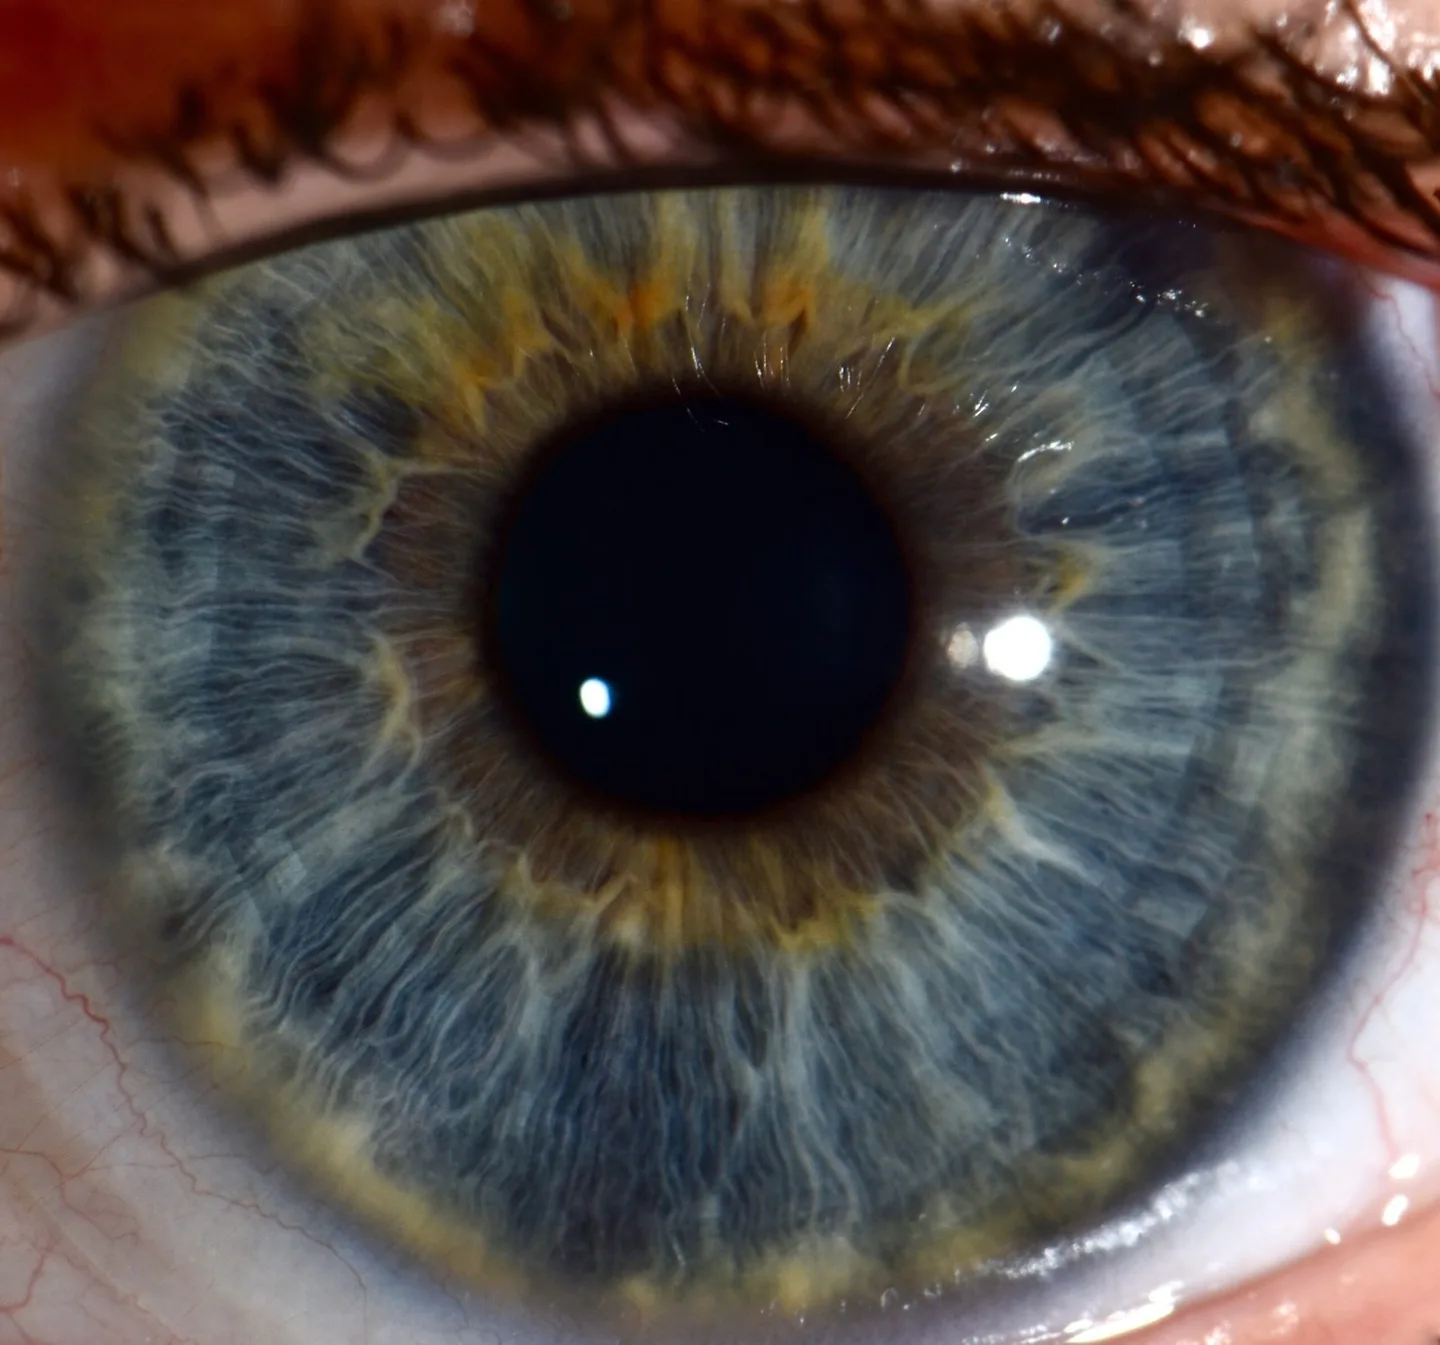
These are practical starting values for a DSLR/mirrorless camera paired to an iriscope; adjust for your camera model, sensor size and clinic lighting.
- Aperture: f/5.6–f/8 — gives sufficient depth of field across the curved iris while keeping sharpness high.
- Shutter speed: 1/125–1/200 s — prevents motion blur from micro‑movements.
- ISO: 100–400 — keep ISO as low as possible to reduce noise; raise only if exposure requires it.
- White balance: set to a single neutral preset (daylight or custom) or use a grey card and set a custom WB.
- Focus: manual focus by live‑view magnification; use the camera’s focus peaking if available.
- File format: RAW + JPEG when possible; if RAW not possible, use high‑quality JPEG.
Subject and operator ergonomics for repeatable results
Position the operator at roughly the client’s eye level. Use an adjustable stool so you can keep a neutral wrist posture. For longer clinics, alternate hands or use a small support to reduce fatigue. Encourage the client to relax facial muscles and keep the head steady; short guided breathing helps minimise blink and micro‑movement during capture.
Lighting and reflection control — fixes for glare and pupil‑size issues
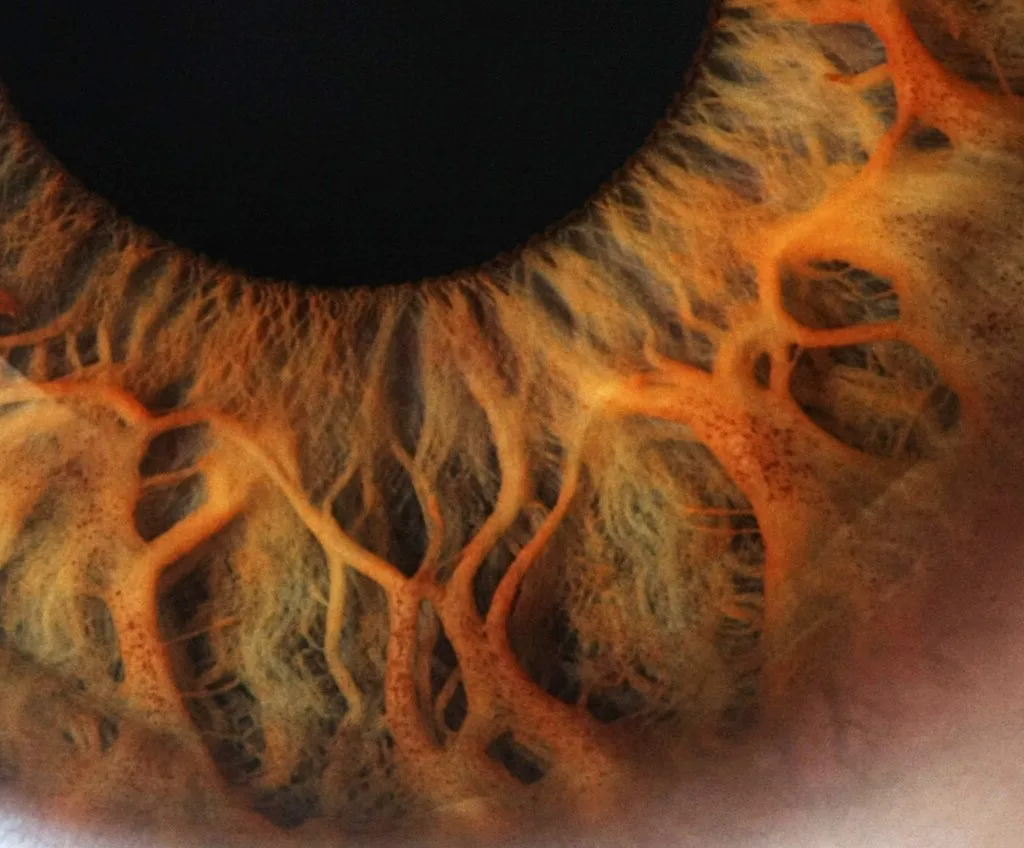
Common issues are corneal reflection and pupil constriction or dilation that change apparent iris detail:
- Glare: slightly change the illumination angle or reduce intensity; a polarising filter on the camera (if compatible) can help reduce surface reflections.
- Pupil size: avoid very bright room light immediately before capture; allow pupils to stabilise in the controlled lighting for 60–90 seconds.
- Uneven illumination: check the ring light for burnt LEDs or partial shadowing; clean the device optics regularly and test illumination uniformity before clinics.
Image quality checks you must run immediately
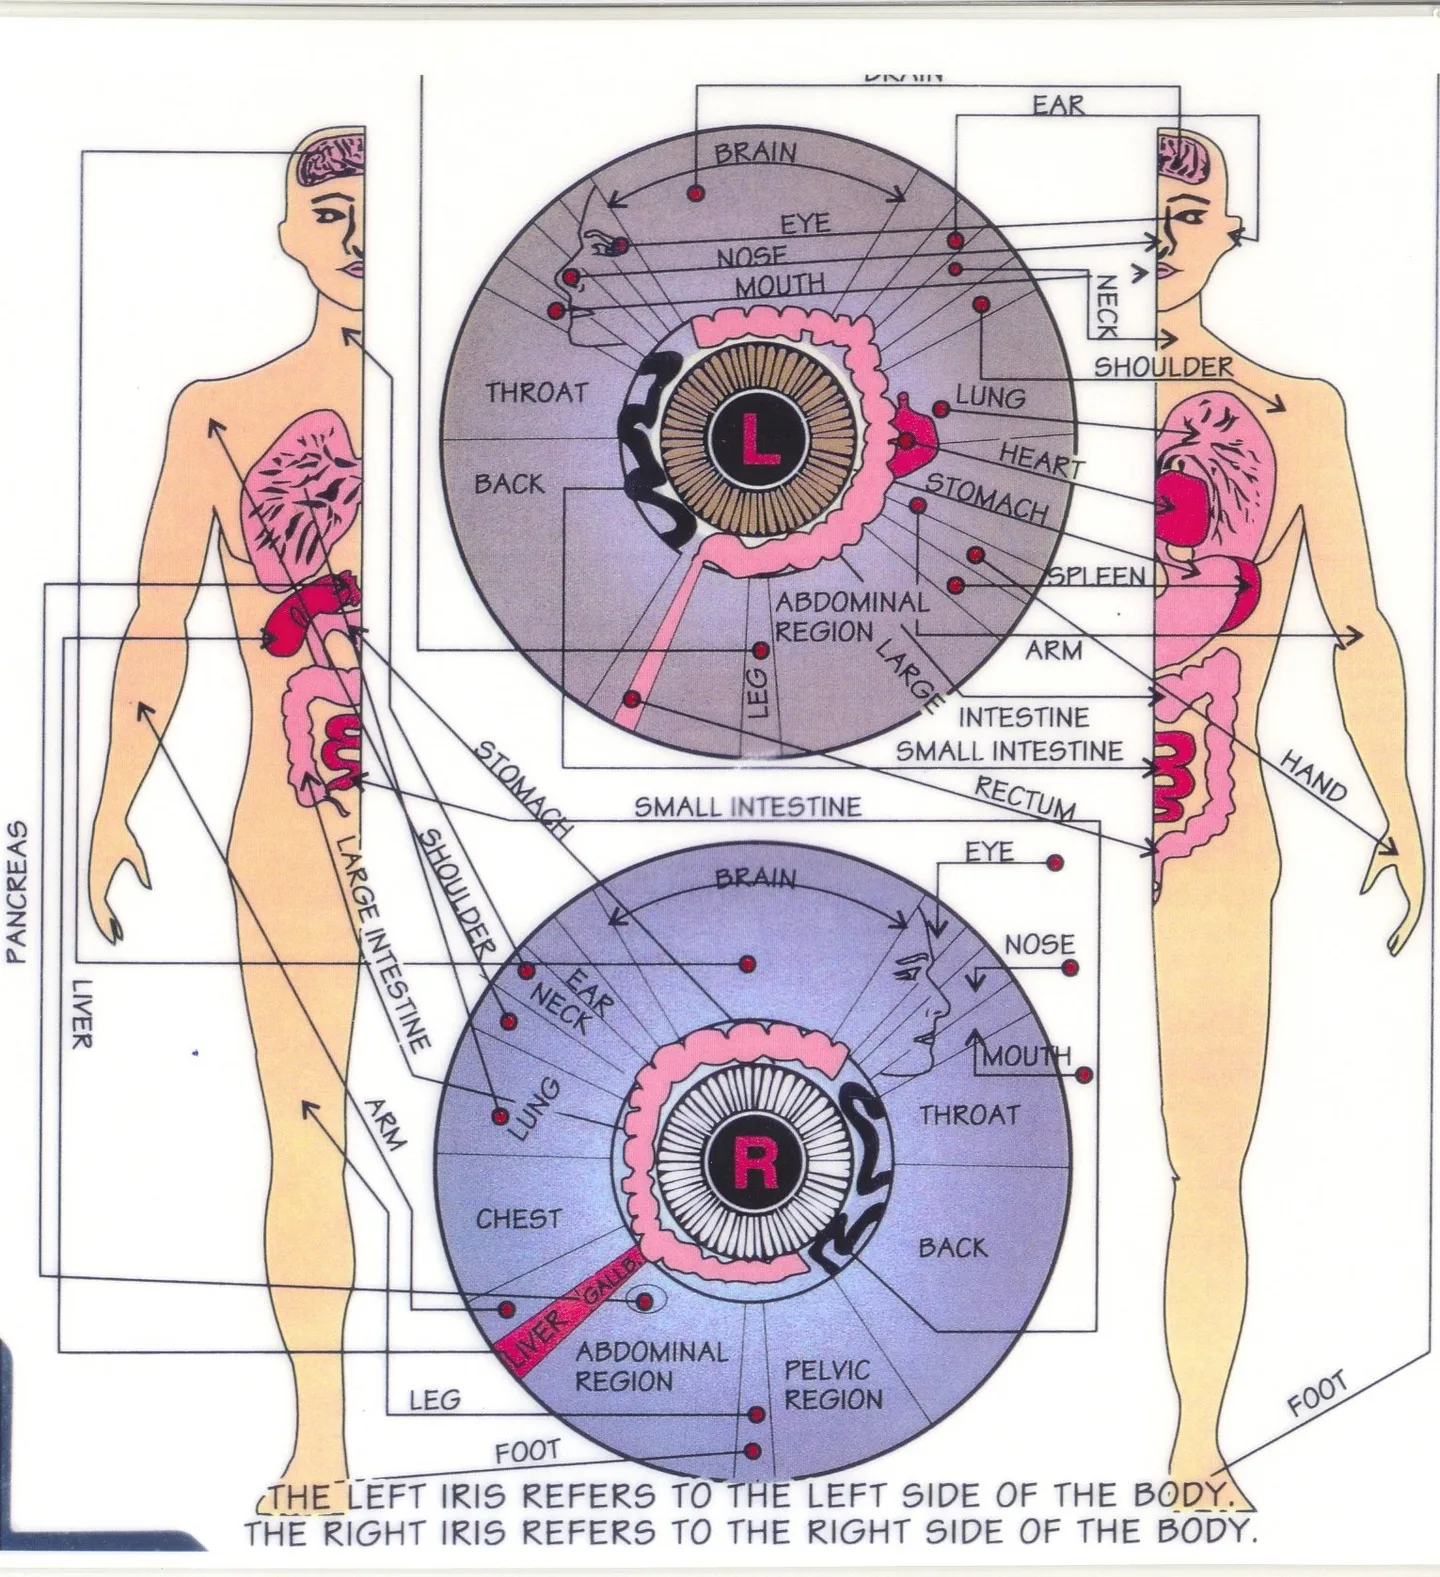
Run these checks at the camera or on the tethered monitor before the client leaves:
- Focus: iris texture and pupillary margin must be sharp; if not, re‑capture with manual focus adjustments.
- Field of view: full iris diameter visible with minimal sclera cropping; both eyes framed similarly.
- Eyelid/eyelash interference: eyelids or lashes should not mask the iris; ask the client to blink and relax then re‑position if necessary.
- Colour/white balance: skin and sclera tones should look natural; if the white balance is off, retake with corrected WB or note the need for consistent correction in post‑processing.
- Specular highlights: small central reflections are acceptable; large or multiple reflections require adjustment of source angle or intensity.
Troubleshooting common capture problems and fast remedies
Blurry images
Cause: autofocus hunting, motion or incorrect aperture. Remedy: switch to manual focus, increase shutter speed, or raise ISO slightly. Use live‑view magnification to fine‑tune focus.
Uneven lighting or dark sectors
Cause: misaligned ring light or blocked LEDs. Remedy: clean device, rotate slightly to even the ring, or re‑position the subject. If the device has removable diffusers, try swapping or removing them during setup tests.
Non‑cooperative clients or excessive blinking
Use a relaxed instruction set: slow breathing, a single countdown for capture, and short sessions with breaks. For mobile visits, choose a stable seating arrangement and avoid sudden movements.
Integrating captured images into a clinical workflow — file naming, storage and UK privacy
Practical steps that align with UK practice considerations:
- File naming: use a consistent, non‑identifying pattern that still links to your records, for example: ClinicID_YYYYMMDD_ClientID_LeftEye.JPG. Keep a separate patient index that maps ClientID to personal data, stored securely.
- Storage: keep originals on encrypted local storage or a secure clinic server. Back up to a secondary encrypted drive. If you plan cloud storage, verify the provider’s GDPR compliance and data residency details.
- Retention and consent: record the client’s consent scope and retention period in the file metadata or client record. Follow your clinic’s record‑keeping policy and local professional guidance.
Note: this is practical advice, not legal guidance. For binding GDPR or record retention policies consult your legal adviser or professional regulator.
Basic post‑capture steps: cropping, contrast/brightness and preserving originals
Workflow we recommend:
- Immediately copy RAW originals to secured storage and label them as master files.
- Work from duplicate copies for cropping and adjustments. Crop to include the full iris and a small rim of sclera for context.
- Apply conservative exposure and contrast adjustments to preserve texture detail; avoid colour shifts that would misrepresent the image.
- Save an edited JPEG for consultation use, and retain the RAW master for records and future re‑processing.
Using comparable provider charts and software alongside the IrisExplorer G16 — practical uses
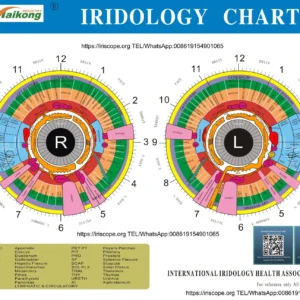
comparable provider charts and compatible software are useful for organising images, annotating findings for education, and preparing formatted client reports for wellness consultations. In practice:
- Import paired left/right eye images into client profiles so you can compare images over time.
- Use annotation tools for teaching or client education while making clear these are interpretive, wellness‑oriented notes.
- Keep image libraries anonymised for research or training; store identifiable data separately and securely.
Risks and limitations
The IrisExplorer G16 is supplied for image capture and educational/wellness use. comparable provider is not a medically validated diagnostic method for disease detection and should not be presented as such. The device’s effectiveness for any specific clinical purpose depends on operator technique, camera pairing and lighting conditions; we do not claim clinical diagnostic performance. If you require device specifications tailored to a particular camera model or clinical project, request our configuration advice.
Practical checklist before your first clinic session with the IrisExplorer G16
- Device attached and stable; illumination tested.
- Camera battery charged and cards formatted; RAW enabled if available.
- Consent form ready and client briefed on purpose and data handling.
- Record session settings (aperture, shutter, ISO, WB) in the client file.
- Immediate image QC completed and master files copied to secured storage.
If you would like a clinic‑ready configuration, training session or a quotation for the IrisExplorer G16 and compatible camera adapters, email us at lucy@iridologycamera.org or call/WhatsApp +8613510907401. We can advise on camera pairing, accessory kits and training options appropriate for UK independent practitioners.
Article Disclaimer / UK Compliance Notice
This content is for educational and wellness purposes only. MAIKONG iriscope systems and comparable provider software are intended for professional education, wellness consultation and training. comparable provider must not be presented as a method for diagnosing, treating or confirming disease. Users are responsible for ensuring their clinic’s use and any promotional materials comply with UK laws and professional standards. For legal or clinical advice, consult an appropriate qualified professional.
This content is provided for learning, information sharing and professional communication only. It is not medical advice and is not a basis for treatment or diagnosis. Confirm suitability, operation and purchasing requirements against the product manual, local regulations and qualified professional guidance.
Note: the IrisExplorer G16 model specifics for focal length or coupling adapters are not included in our current materials; if you want settings optimised for a specific camera body or adapter, request a configuration checklist when you contact us.