Portable iriscope setup for mobile wellness visits in the UK
Quick answer
Contents
Direct answer: the quickest way to prepare a portable iriscope kit and complete one mobile wellness visit
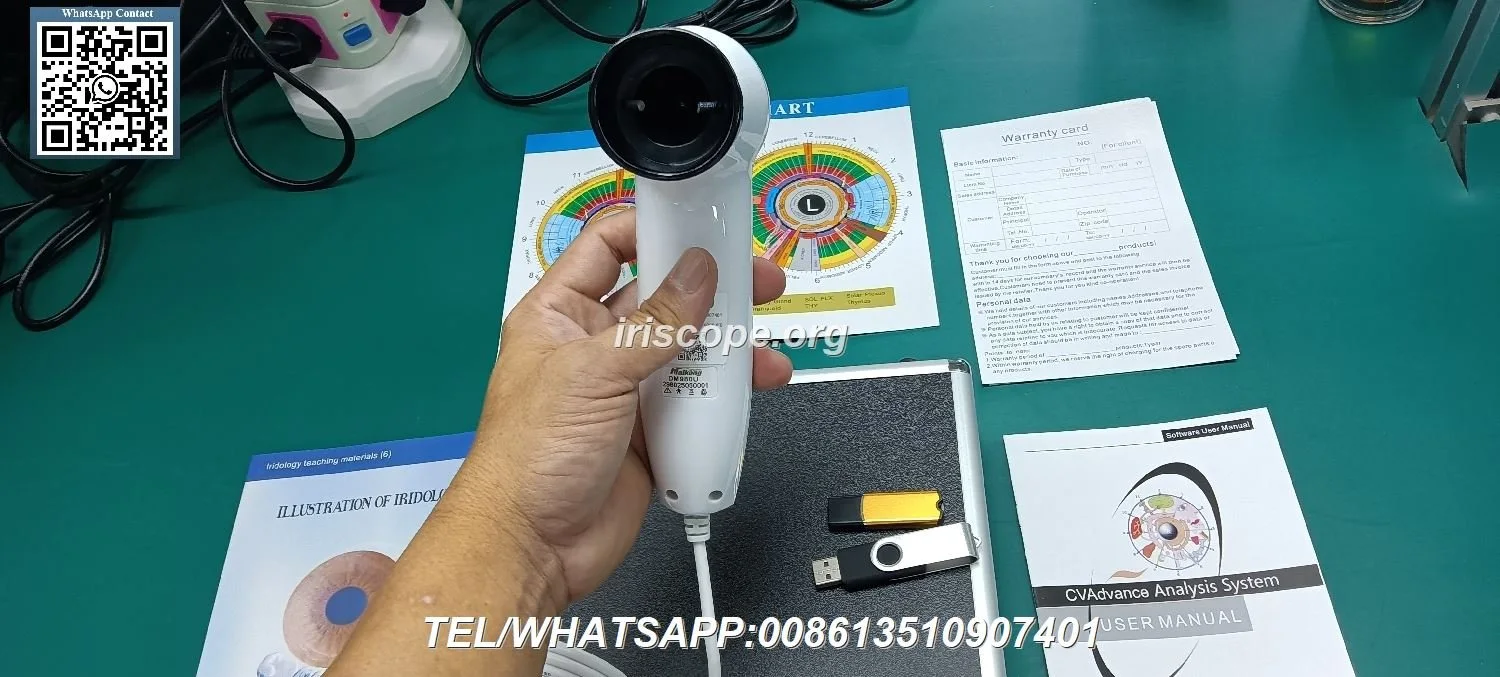
Prepare a single operator kit as follows and run the visit in this order: 1) kit in protective case, 2) quick software and camera check before leaving, 3) set up client seating and neutral backdrop on arrival, 4) connect camera to the laptop via USB and open MAIKONG software, 5) check white balance and adjustable focus on the client’s eye, 6) use the camera’s LED illumination and single‑capture/pause to take the image, re‑take if needed, 7) save images into the client folder and export a short report if required. This sequence keeps visits compact, repeatable and client‑friendly.
Who this guide is for — what you will be able to do
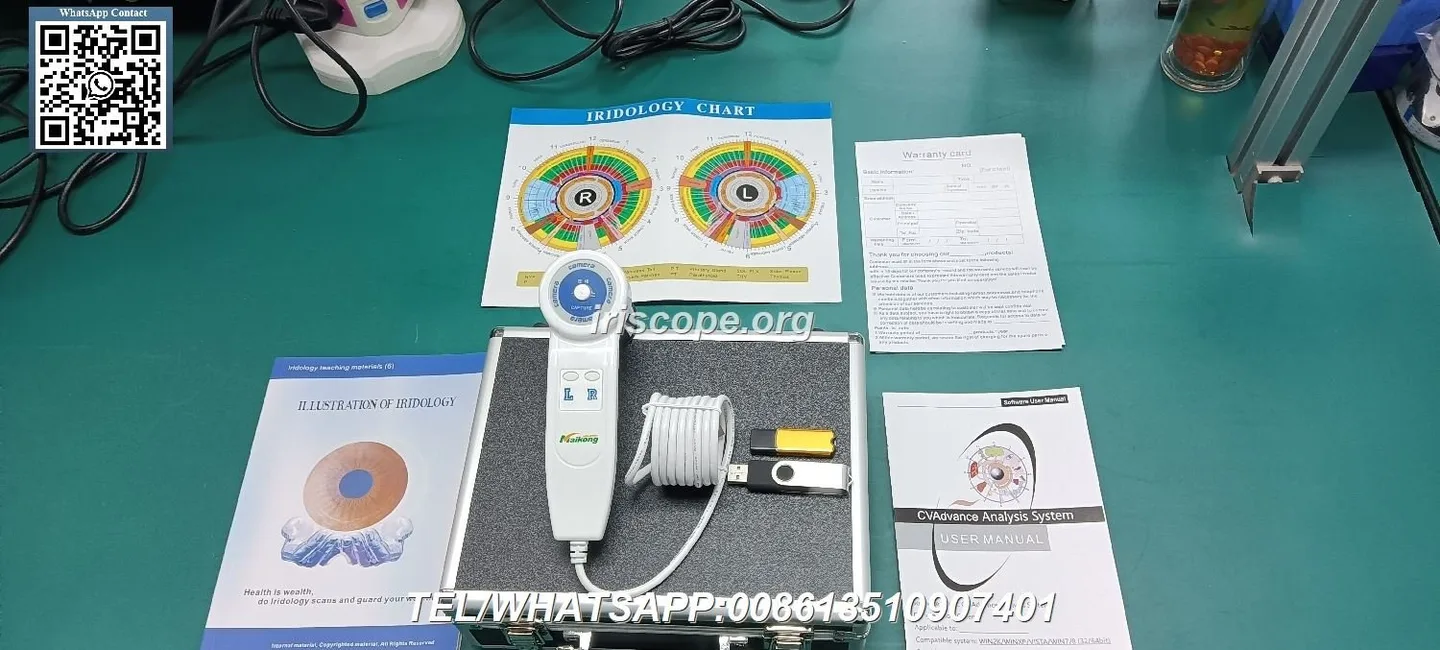
This article is written for the mobile wellness practitioner working in the UK who needs a reliable, repeatable iris imaging workflow for home visits, pop‑ups and events. We focus on the practical decisions you actually face: what to pack, how to protect optics, how to perform one quick capture reliably, how to handle files and client records on site, and what the device limitations are for door‑to‑door work. We will reference two MAIKONG models you can choose between and point out the trade‑offs that matter in the field.
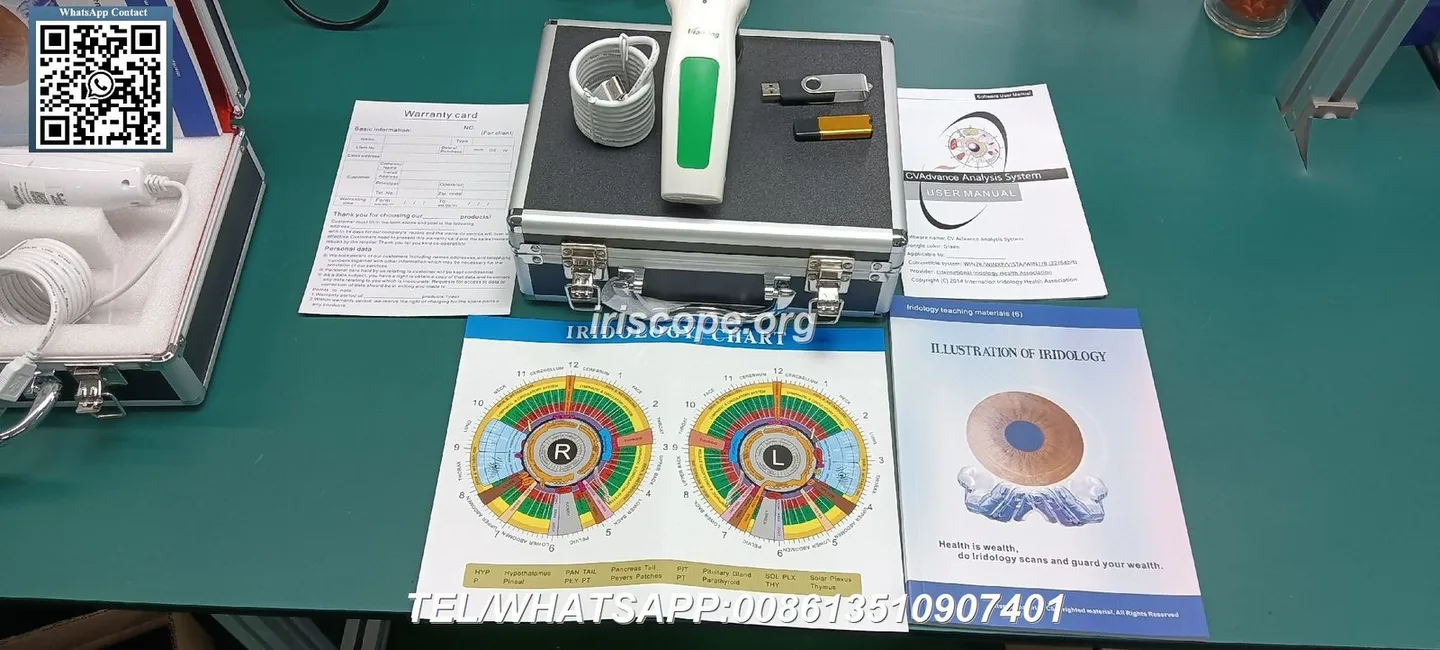
Essential kit checklist for a single‑operator portable iriscope setup
- Lenses/attachments: supplied iris lens; optional hair lens if your practice uses scalp imagery.
- Lighting & mounting: small table tripod or hand‑mount stabiliser; integrated LED illuminator on the camera covers most needs.
- Laptop/tablet: Windows laptop that runs MAIKONG software (Windows 7 through Windows 11 supported). Keep a compact mouse and a spare USB port adapter.
- Software and licence: MAIKONG comparable provider software (English supported). Pre‑install and test before the visit.
- Carrying case: hard case with foam, labelled compartments for optics, cables, laptop and charger.
- Hygiene supplies: alcohol wipes (for non‑optical surfaces), disposable eye shields or single‑use adhesive covers for forehead contact points, hand sanitiser, paper wipes, clinician mask where required by client preference.
- Admin: printed consent form or digital consent template, client record folder, spare SD/USB for image backup (if you export), charger and a small power bank if you expect long days.
Models and useful device facts to pick from — quick evidence summary
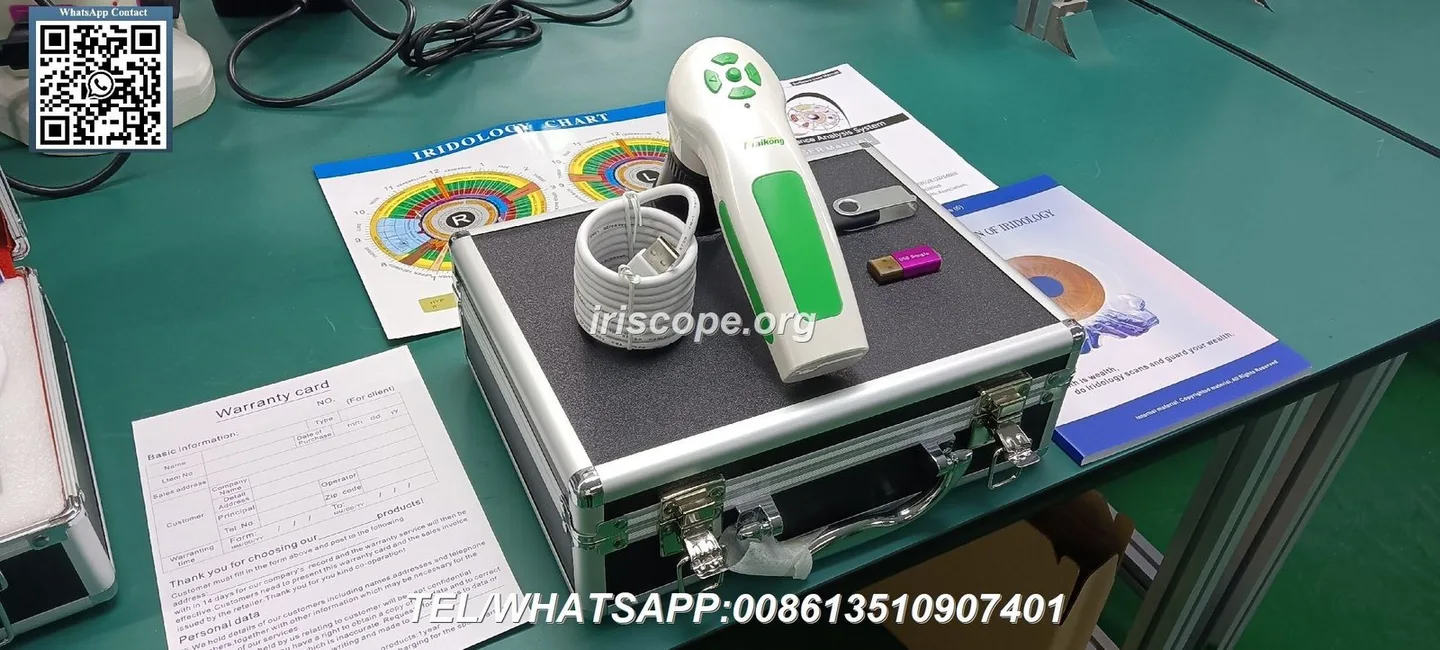
We summarise the facts you should use when deciding between compact MAIKONG models.
| Model | Sensor / resolution | Illumination | Capture and focus | OS compatibility |
|---|
Notes: MK 980U emphasises a split LED array (iris vs sclera) that helps selective lighting; MK 9822U offers higher pixel resolution and explicit software features for saving client data and printing analysis reports. Use these facts to prioritise image detail versus smaller file sizes and simpler lighting control.
Pre‑visit checks: software, OS compatibility and client data preparation
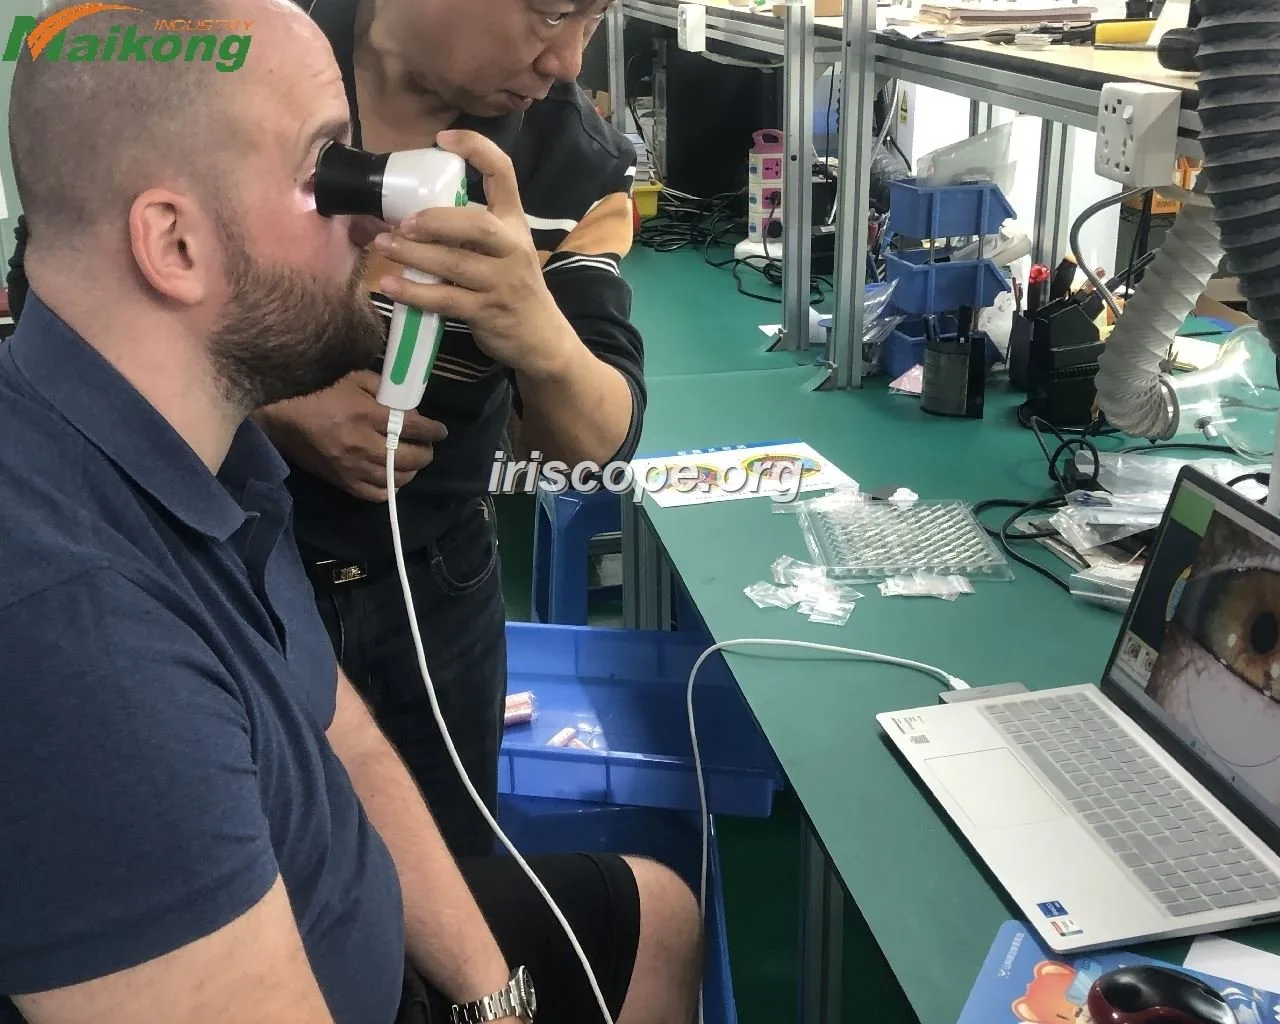
Before you leave for a visit, do these three quick checks:
- Software test: open MAIKONG software on your laptop, confirm English language is selected and that the camera connects and shows a live view. Confirm the save folder path and an export folder.
- Windows compatibility: verify your laptop OS version is one of the supported systems listed for the model you bought (MAIKONG products list Windows 7 up to Windows 11). If you use a Windows tablet, ensure full desktop Windows is installed — MAIKONG software is not listed as an iOS or Android app.
- Client form and consent: prepare a brief consent template that explains the imaging is for wellness/educational purposes and how you will store images. Keep a backup of the form on the laptop and one paper copy.
Packing and transport: protect optics, LEDs and cabling for door‑to‑door work
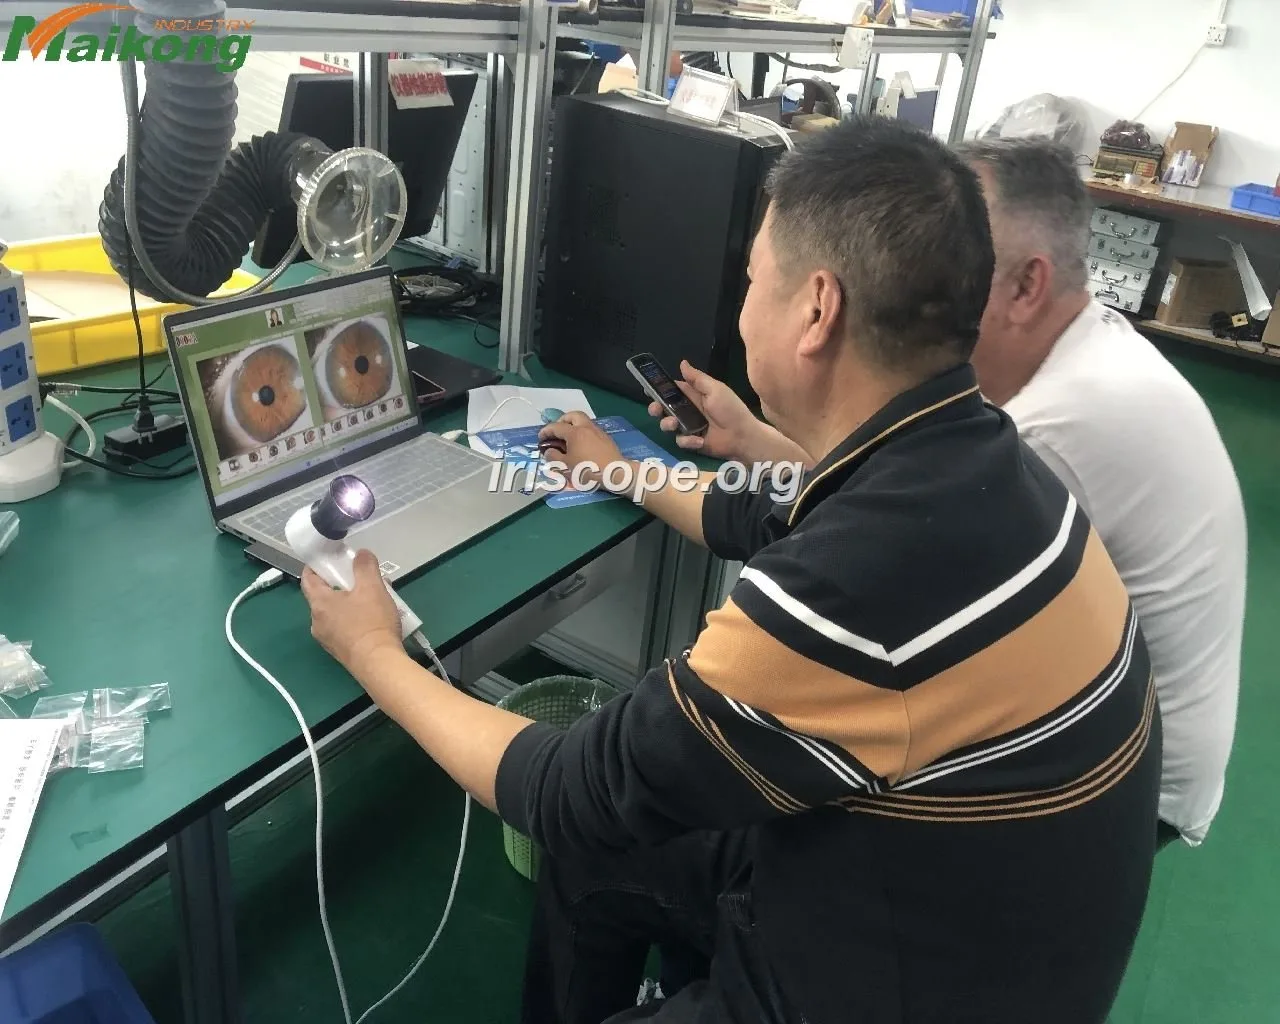
Transport rules that save time and prevent damage:
- Use a hard case with cut foam: keep the camera body separated from loose cables and the laptop. Place lens covers on the optics always.
- Label cable pouch and carry it inside the case so you don’t rummage during setup.
- Keep LED rings and the handle switch accessible so you can test immediately on arrival without unpacking everything.
- Carry a small optical cloth and a sealed pouch for wipes; never use alcohol directly on lens coatings — use a lens‑safe cleaner if needed.
On‑location setup: step‑by‑step
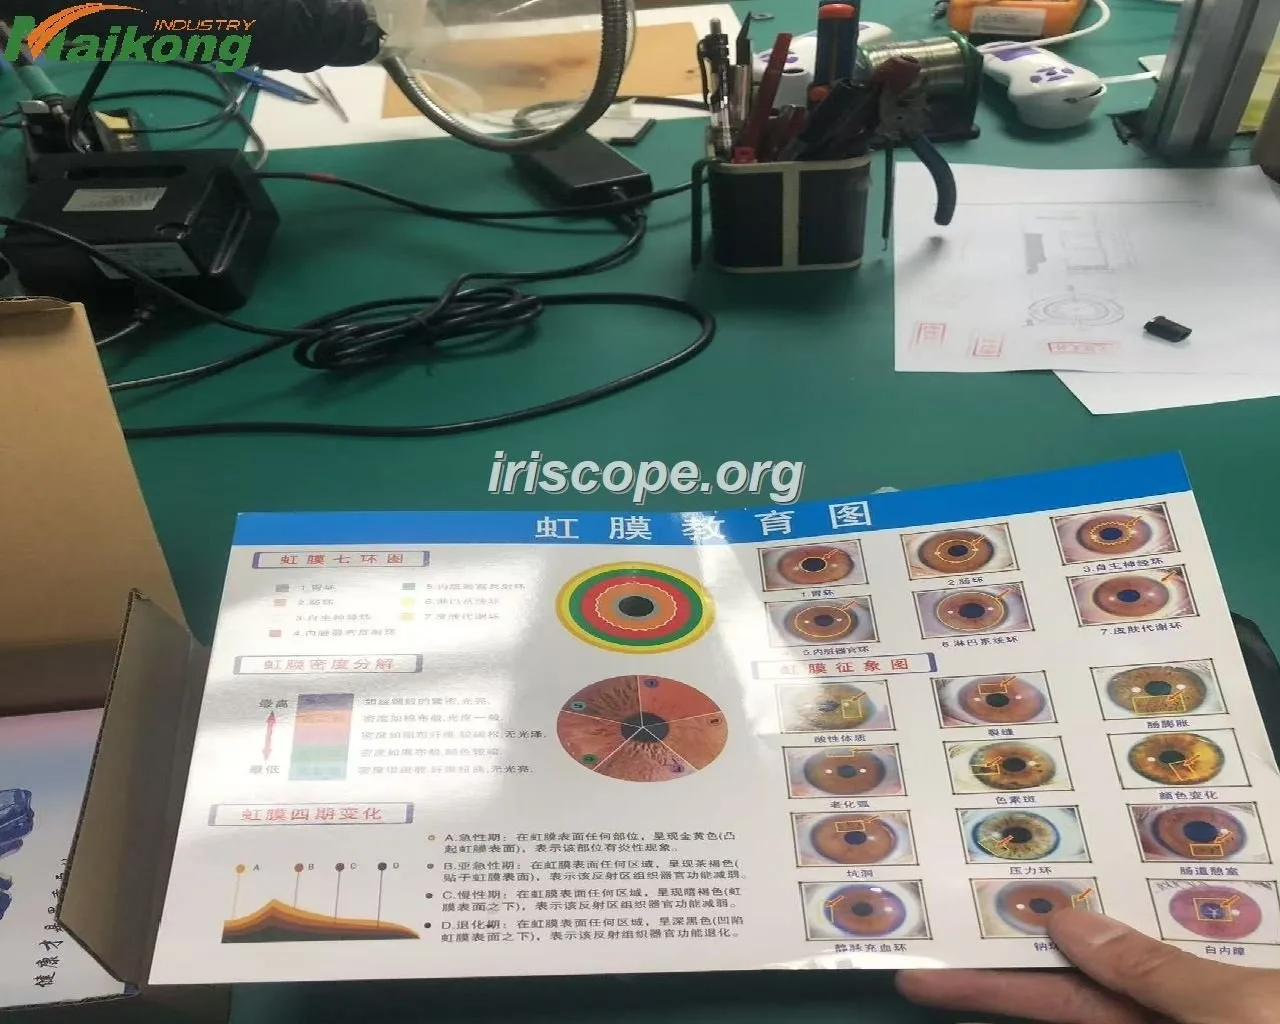
- Seat and backdrop: place the client in a comfortable chair near a neutral, non‑reflective backdrop. A chair without a high headrest is easiest for alignment.
- Height and angle: set the laptop/tablet on a small table at roughly the same height as the client’s face. A small tripod or hand‑mount for the camera speeds alignment.
- White balance and focus: use auto white balance first and the device’s adjustable focus to refine. Ask the client to look at a fixed point while you fine tune.
- Comfort and consent: explain what you will do, keep the visit calm and pause if the client blinks; disposable forehead or nose pads improve hygiene where the camera touches.
Capture routine: lighting method, single‑capture use and reliable re‑takes
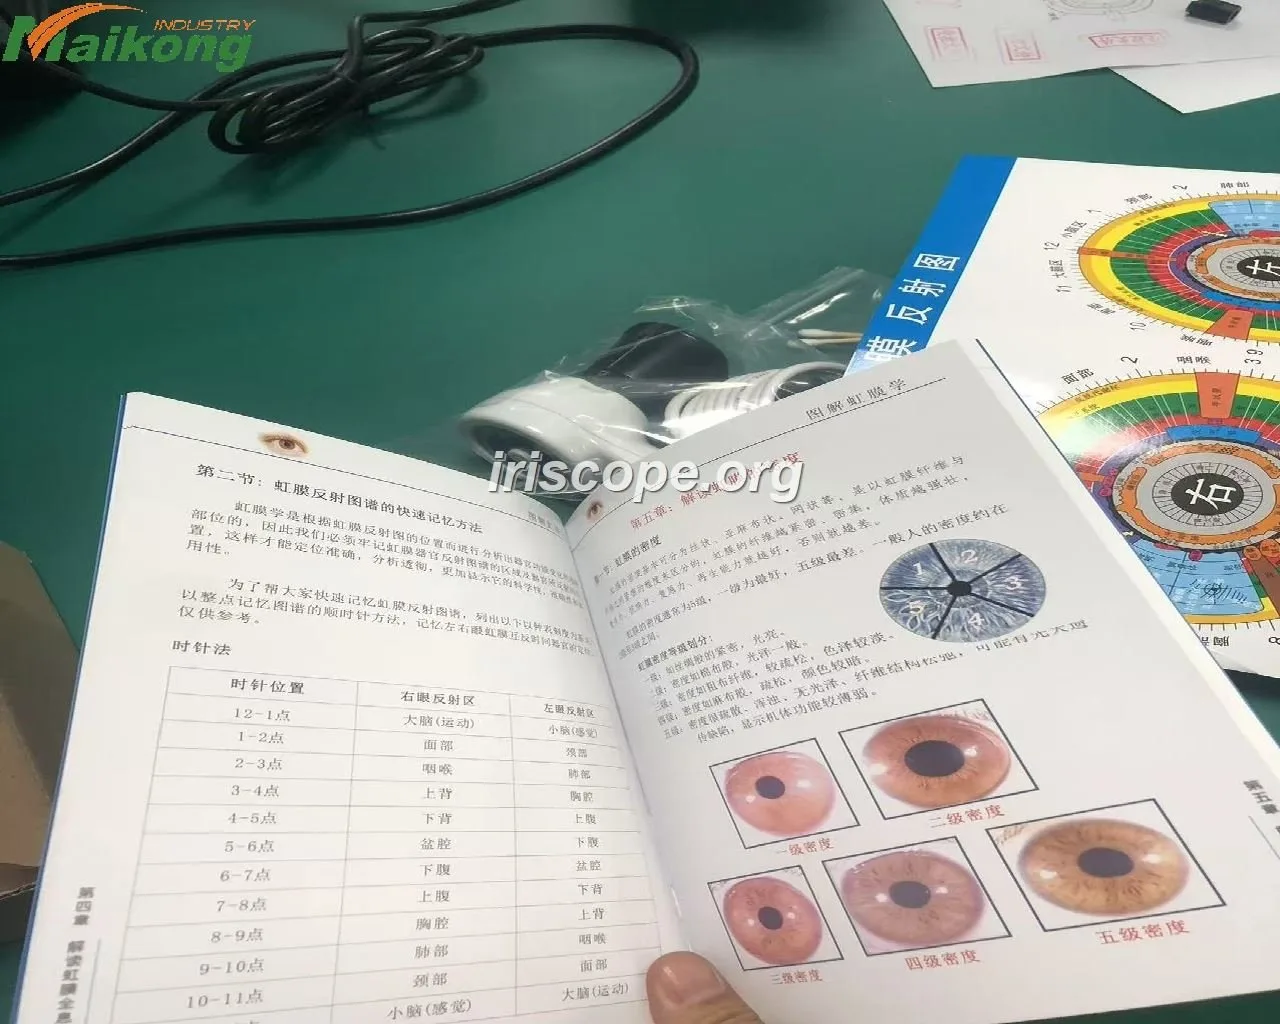
Make single captures repeatable:
- Start with the camera’s iris LED mode (where applicable) to capture the central iris details; use the sclera lights for side or whole‑eye views.
- Use the single capture button to freeze an image; if your operator needs to check it immediately, use the pause function to avoid accidental overwrites.
- If the client blinks or moves, re‑take. Save each shot with a clear filename or in the software’s client folder so you can compare later.
- Keep a checklist: live view, focus, lighting mode, single capture, save. Rehearse it once so the process becomes second nature and visits remain quick.
Image quality checklist and common fixes
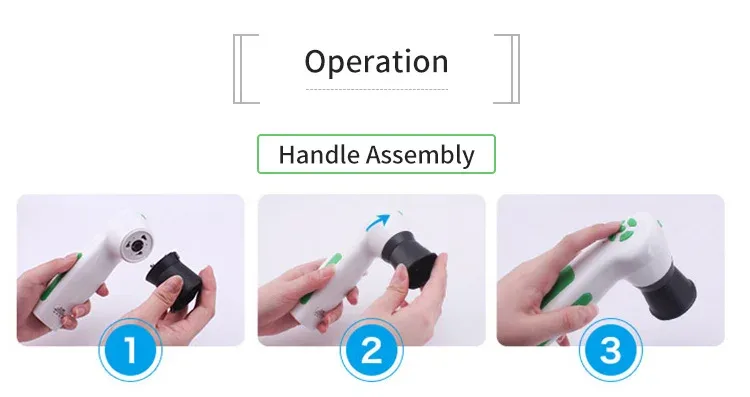
Verify each capture against this short checklist:
- Exposure: avoid over‑exposure from strong ambient windows; use the camera’s LED ring and reduce ambient light where possible.
- Reflection and glare: ask clients to angle slightly or change gaze rather than increase flash; small polarising masks are available commercially if glare is a persistent problem but are not part of MAIKONG specs.
Data handling and client records
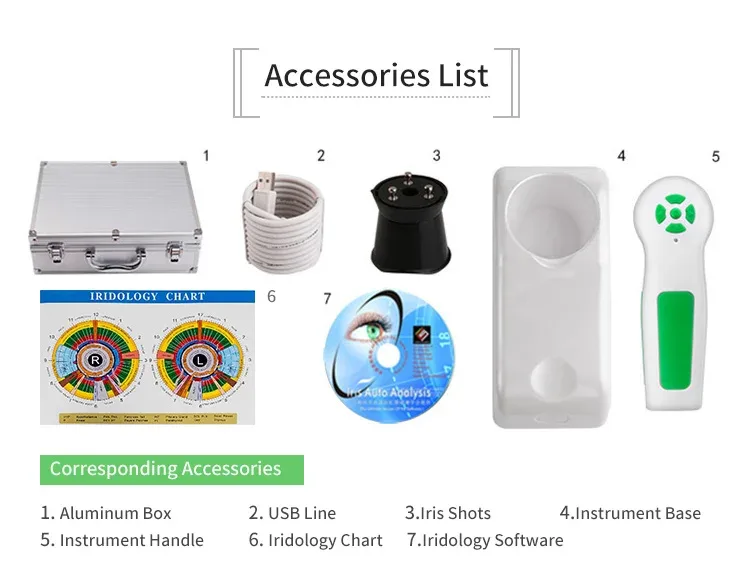
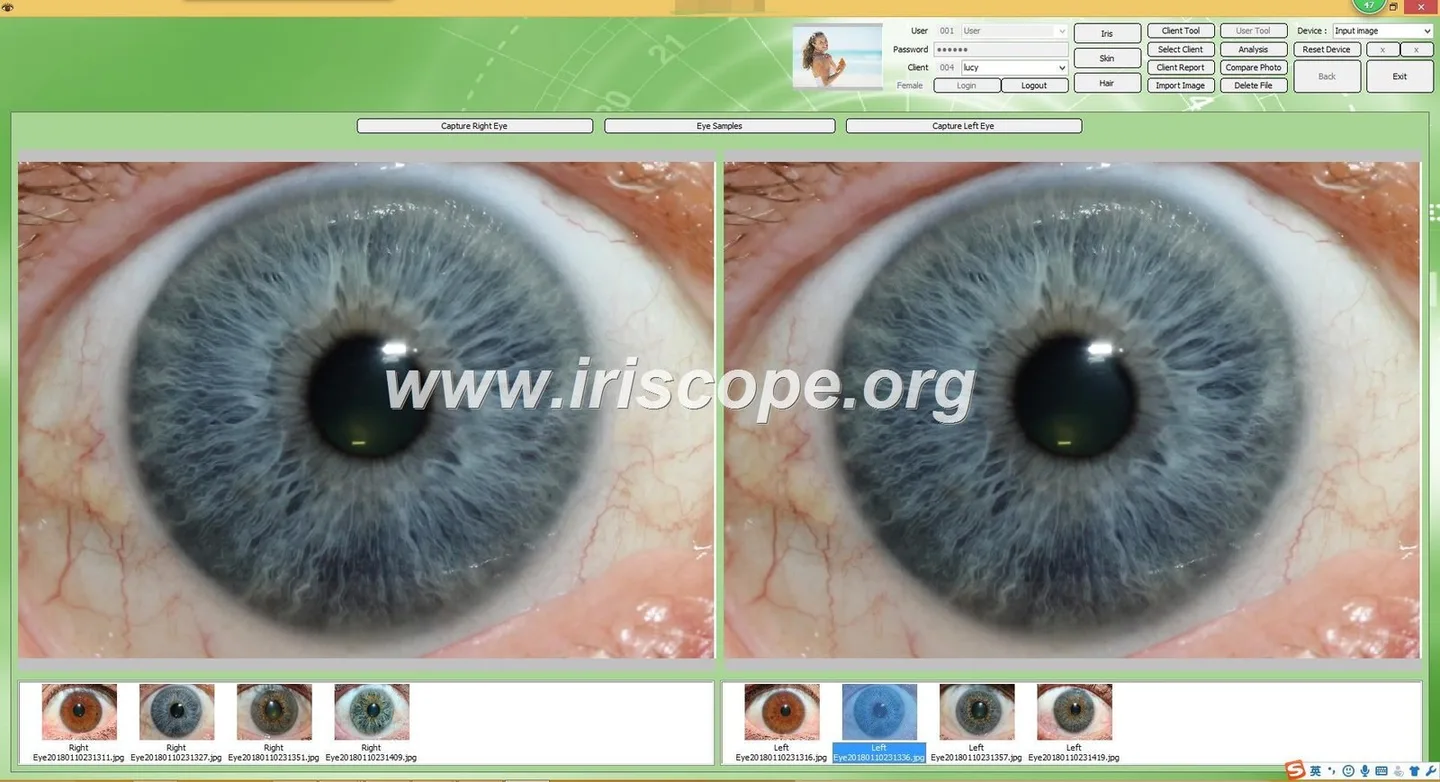
Keep records tidy and compliant for wellness work:
- Save images into a client folder named with a reference code, not full identity if you plan anonymised records.
- Export a basic PDF report when the client wants a takeaway. If you keep records on the laptop, apply disk encryption and a password‑protected backup.
Power, connectivity and practical limitations for mobile use
What to expect in real settings:
- Offline capture: the camera and software work locally — you do not need internet to capture and save images, but you will need a connection to email reports or back up to cloud storage.
- Operating system: MAIKONG lists support for Windows editions up to Windows 11; confirm the exact software build with us before buying to avoid compatibility surprises.
- Limitations: MAIKONG product information does not list iOS/Android apps — if you prefer a tablet workflow, choose a Windows tablet that can run desktop software or request a configuration that supports your hardware.
Cleaning, hygiene and client comfort on home visits
Practical hygiene measures that keep visits professional:
- Use disposable contact pads where the device may touch the forehead or bridge of the nose.
- Clean non‑optical surfaces between clients with an appropriate disinfectant wipe. Avoid alcohol on lens coatings; use a lens cloth and lens‑safe cleaner for optics.
- Offer the client hand sanitiser and explain the cleaning steps briefly to build trust.
- Keep sessions short where possible; a calm environment reduces blinking and movement and improves image quality.
Training checklist for a new operator
Before you deploy a staff member or freelancer, cover these items in a short training session:
- Software startup and camera connection check (live view, save path).
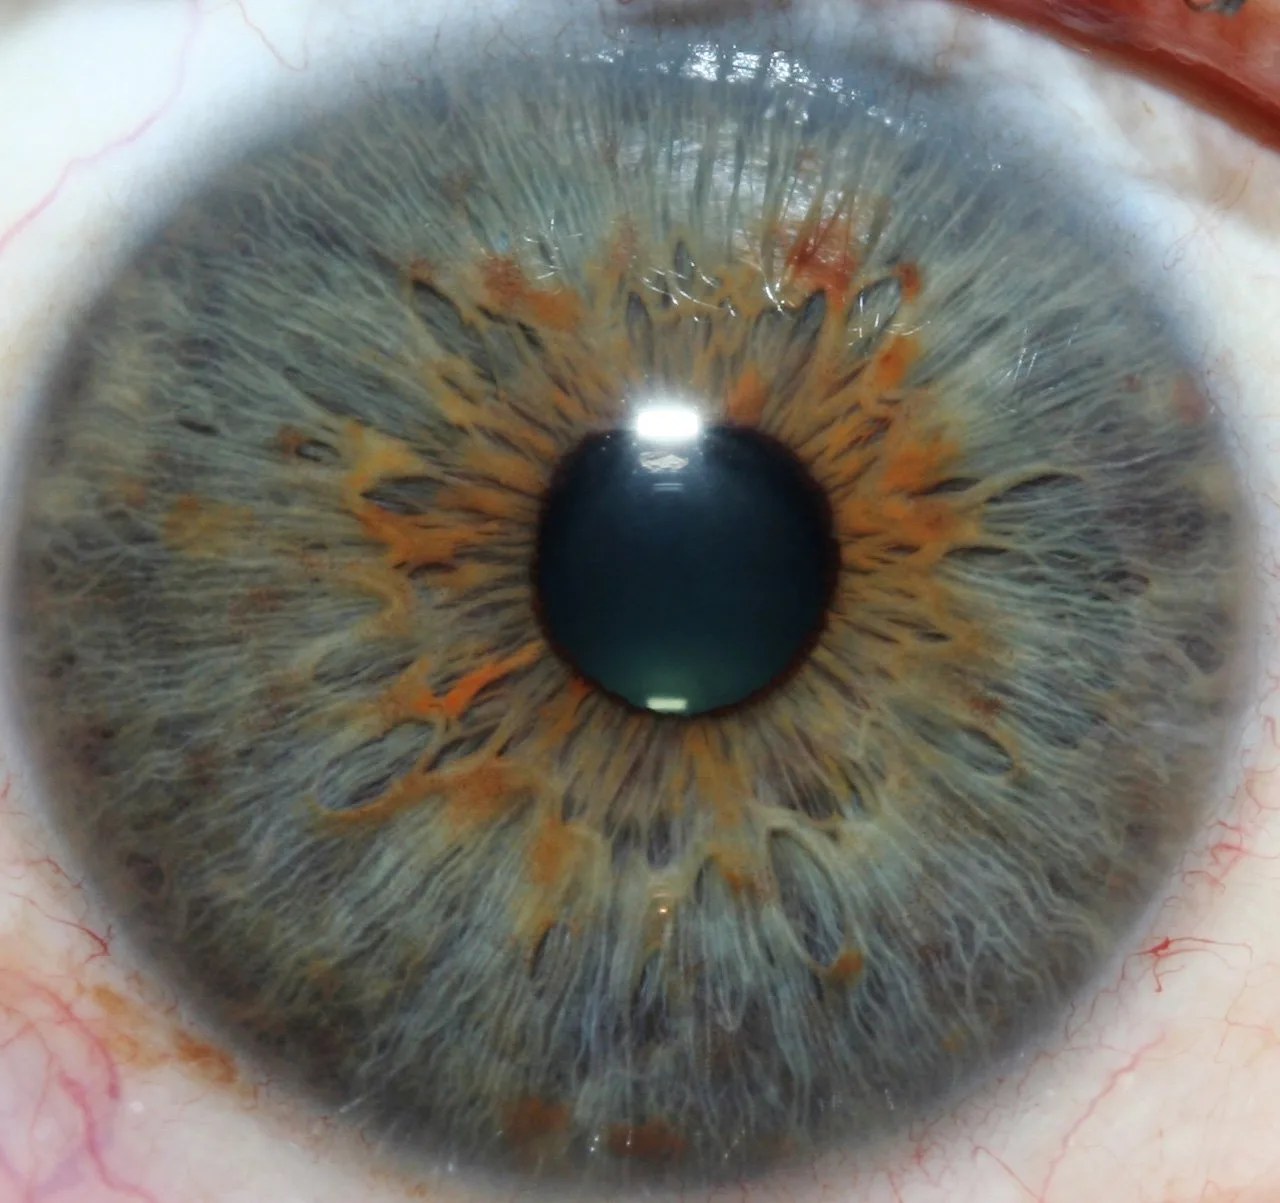
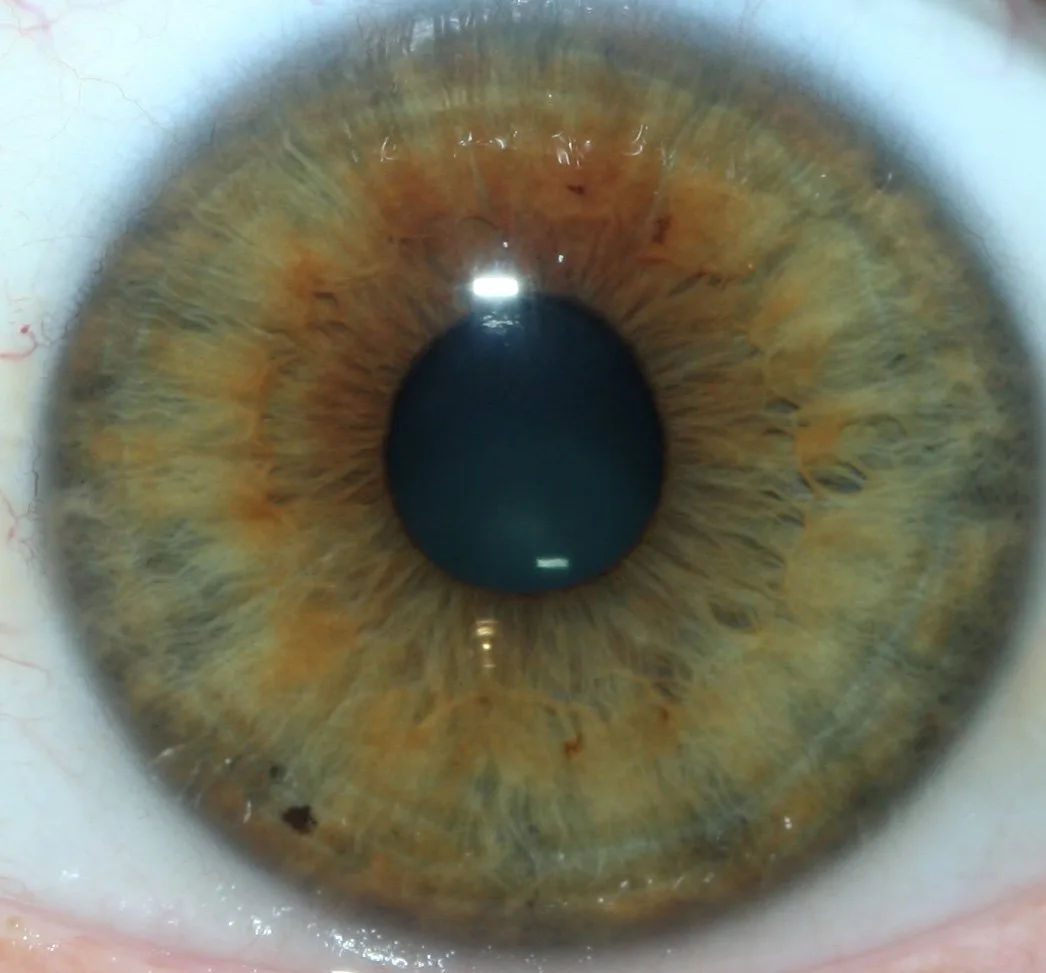
- Three practice captures on a colleague: centre iris, whole eye and sclera view.
- File naming, client folder organisation and basic report export.
- Hygiene routine, consent script and how to explain the non‑medical purpose of imaging to clients.
Evidence
The device features quoted above are taken from MAIKONG product information for MK 980U (data‑fact‑id=”208″) and MK 9822U (data‑fact‑id=”202″), including sensor resolutions, LED illumination descriptions, capture features, adjustable focus and listed Windows support. Use those model facts to match the camera’s spec to your workflow needs.
Limitations and risks
comparable provider equipment and software are intended for wellness, educational and training uses only. MAIKONG product descriptions do not establish clinical efficacy and must not be used to diagnose or treat medical conditions. Confirm software compatibility with your exact Windows build before purchase. If you need tablet or Mac‑native software, that requires additional verification because MAIKONG lists Windows support. For pricing and a configuration matched to your mobile practice, request a quote — we can recommend the best model and accessories.
Useful FAQ
Can I use an iPad or Android tablet for mobile captures?
MAIKONG product information lists Windows systems; there is no MAIKONG‑supplied iOS or Android client mentioned in the model facts. To use a tablet, choose one that runs full Windows, or ask us about a compatible workflow — otherwise a Windows laptop remains the simplest option.
Next step — getting a tailored kit and quote
If you’d like a configuration that fits your visit pattern (event work, long home‑visit days or short pop‑ups), tell us the number of visits per week, whether you need printed reports on site and whether you favour higher resolution or smaller files. For a quotation or configuration advice, contact lucy@iridologycamera.org or call/WhatsApp +8613510907401.
Compliance note
This content is for educational and wellness purposes only. MAIKONG iriscope systems and software are for professional education, wellness consultation and training; they are not a substitute for medical diagnosis or treatment. Users should comply with applicable UK advertising and health claim regulations and seek qualified medical advice for health concerns.
This content is provided for learning, information sharing and professional communication only. It is not medical advice and is not a basis for treatment or diagnosis. Confirm suitability, operation and purchasing requirements against the product manual, local regulations and qualified professional guidance.
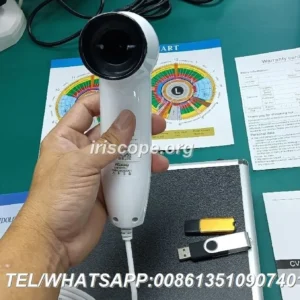
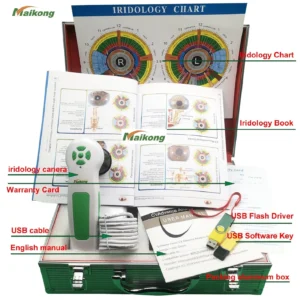
The quickest field‑ready kit: one compact MAIKONG iriscope (MK 980U or MK 9822U), a Windows laptop running MAIKONG software (English available), a small padded tripod or hand‑mount, a USB lead and spare power option, a hard carry case with optical foam, disposable hygiene covers and a simple client form. Do a short pre‑visit check of software, Windows compatibility and image-save folders, protect optics in transit, set a neutral background and chair at the right height, then use the device’s LED illumination, autofocus/adjustable focus and single‑capture + pause feature to capture repeatable images. For a configuration and price, contact us for a tailored quote.